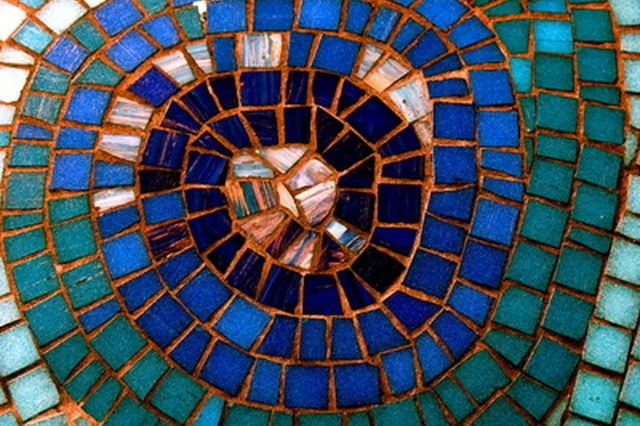
How to Make a Stained Glass Tabletop

How to Make a Stained Glass Tabletop
Published: Jan 20, 2011
Updated: Nov 20, 2021
2 minute read

Things You Will Need

  • Wood table
  • Heavy paper
  • Design pattern
  • Safety glasses
  • Stained Glass
  • Stained glass cutter
  • Tile nippers
  • Tile adhesive
  • Grouting gloves
  • Trowel
  • Tile grout
  • Sponge
  • Grout sealant

This also remedies the problem of sagging that would occur with a soldered stained glass design. Stained glass tabletops transform simple tables into exceptional accent pieces for a home.

  1. Measure and cut the heavy paper to the same dimensions as the table’s top.

  2. Draw the design pattern onto the heavy paper. For design ideas, use mosaic and stained glass patterns for inspiration (see Resource).

  3. Measure and cut the stained glass to fit onto the drawn design. Be sure to wear safety glasses. Lay the pieces on top of the design as you cut the glass and space the pieces approximately 1/4 inch apart.

  4. Apply a thin layer of tile adhesive to a small section of the table’s surface and begin placing the glass in the same pattern as on the paper. Use the design pattern as a reference.

  5. Continue applying more tile adhesive as needed until the entire stained glass pattern as been placed on the table surface. Allow the adhesive dry before proceeding to the next step.

  6. Use a trowel to apply the grout over the entire table surface. Be sure to fill in all the areas between the stained glass pieces.

  7. Wait about 30 minutes until the grout’s appearance becomes cloudy. Dampen the sponge with water and wipe away the excess grout. Allow the grout to dry completely, about 1 to 2 days.

  8. Apply a coat of grout sealant and let it dry. Apply a second coat. This sealant protects the grout from staining.

Resources

Tips

Protect the stained glass by placing a piece of tabletop glass over it.

Use leftover scraps from other stained glass projects or pre-cut glass used for mosaic crafts.

If you desire a more finished table edge, apply pieces of glass along the edge and grout it along with the tabletop design.

Warnings

Be careful cutting glass and working with sharp edges to prevent cuts.

Photo Credits

Mosaic Swirls image by Towards Ithaca from Fotolia.com

Mosaic Swirls image by Towards Ithaca from Fotolia.com

Katharine Godbey

Katharine Godbey began freelance writing for blogs and websites in 2007 with a background in curriculum writing and teaching. She studied business at Colorado Technical University. Godbey enjoys writing about many topics including small…

Sponsored
HomeSteady Logo

HomeSteady is the ultimate guide for all your household needs, from cleaning and HVAC to electrical, DIY and maintenance.

Property of TechnologyAdvice. © 2026 TechnologyAdvice. All Rights Reserved

Advertiser Disclosure: Some of the products that appear on this site are from companies from which TechnologyAdvice receives compensation. This compensation may impact how and where products appear on this site including, for example, the order in which they appear. TechnologyAdvice does not include all companies or all types of products available in the marketplace.