


Things You Will Need
Once in place, the Z-brick can last decades with minimal maintenance needed for its upkeep due to the strength of the veneer pieces and the mortar holding it in place. This strength can be a problem when removing the Z-brick, though. Because the mortar holds the brick so firmly in place, removal requires stripping away of the Z-brick and removal of the subsurface. This process leaves the framing bare but ready for wall replacement.
-
Turn off any electricity leading to the section of wall that you’re removing the Z-bricks from using the switch at the circuit box.
-
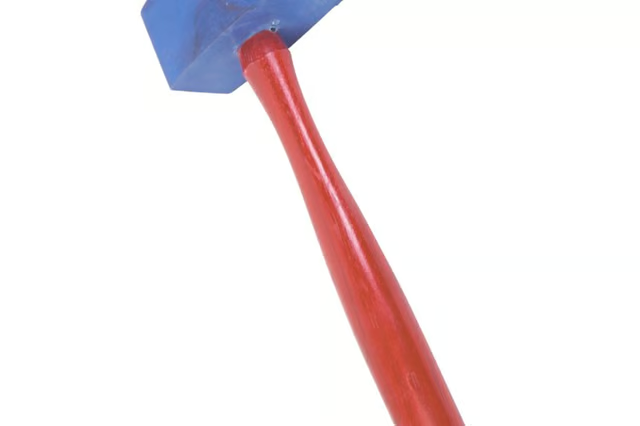
Locate the Z-brick in one of the upper corners of the area of bricks that you wish to remove. Place the tip of a small chisel at the top of the mortar joint between the corner brick and the next brick in the row. Strike the chisel with a small sledgehammer to chisel out the mortar down the joint line.
-
Continue down the center of the Z-brick beneath the joint, chiseling straight through the brick and the mortar beneath to the drywall. Work your way down the wall in a line in this fashion, going through mortar joints first and then through Z-bricks until you reach the wall base.
-
Switch to a large masonry chisel and place it in the joint beside the upper corner brick. Strike the chisel with the sledge to break through the drywall beneath and continue down your chiseled line, continuing to break through the board under the brick veneer to the base of the board.
-
Place a flat pry bar under the board using the cut you’ve just made and pry off the veneer and board. The pieces will likely come off in sections; pull each section away until you’ve removed the veneer entirely, down to the wall studs.