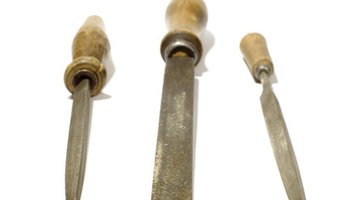


Things You Will Need
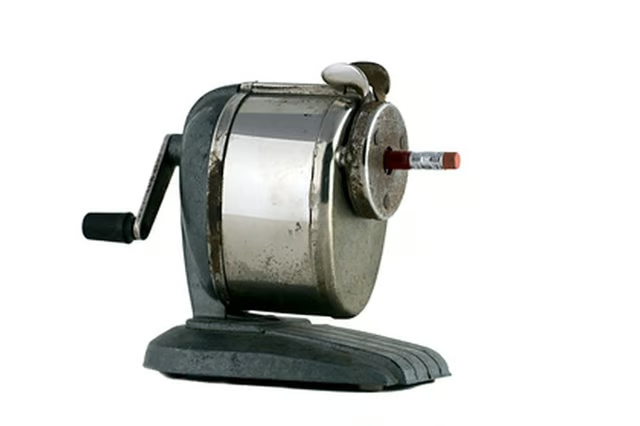
However, the threads of the screws are actually blades, beveled on one side to create a cutting edge. These blades are set at angles on their gears, with the narrow end of the angle farthest away from the entry point for the pencil. When the handle of the sharpener is turned, the rotary blades turn around the pencil, shaving off bits of wood. Dull blades may be sharpened with a small file.
-
Disassemble the pencil sharpener. Remove the shavings container and the handle. Follow the manufacturer's instructions to disassemble the sharpener. On most rotary pencil sharpener models, there is a screw inserted through the base of the handle into the mounting. Remove this screw. Slide the planetary gears with blades off the mount. Note how the pencil sharpener is put together so you will be able to reassemble it after sharpening the blades.
-
Inspect the blades and the angle of the beveled edge. Most pencil sharpener blades are beveled at an angle of 23 degrees. It is important to maintain this angle for a proper cut.
-
Begin at the edge nearest you on one of the blades. Push the file from the inside edge toward the beveled edge of the blade, working around the curves of this spiral blade until you reach the far side of the blade. Wear leather gloves to protect your hands from injury while sharpening the blades.
-
Reassemble the pencil sharpener.