-
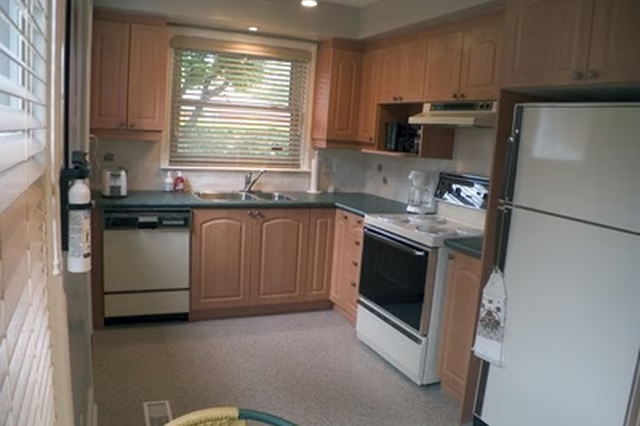
Sand the surface of the cabinets with a 100-grit sanding sponge to remove any traces of the existing finish and prepare the wood for staining. Surface blemishes and visible dirt on the plywood are smoothed away in the process.
-
Dust the cabinets with a duster to remove the sawdust left after sanding. Follow up with a tackcloth to pick up the remainder, ensuring a clean foundation.
-
Mix a can of wood stain with a stirring stick. Brush an even coat onto the plywood to restore its color, using a natural-bristle brush and following the direction of the grain. Quickly wipe the excess product with a rag.
-
Brush a sanding sealer over the surface once the stain has dried for the period indicated on the product label. Again, use a natural-bristle brush and follow the grain of the wood. Allow the sealer to air-dry to the touch, then sand the cabinets with a 280-grit sanding sponge to create a uniform dullness.
-
Apply a polyurethane wood varnish to seal and protect the wood's restored condition, using either a painter's rag or foam applicator brush. Once it has cured overnight, sand the cabinets with the 280-grit sponge.
-
Repeat the process for at least one to two more applications of the varnish. Multiple coats ensure that the wood retains necessary moisture to prevent overdrying and cracking. Do not sand the top coat.
Articles
View All Hover to load posts
Articles
View All Hover to load posts
Articles
View All Hover to load posts
Articles
View All Hover to load posts
Articles
View All Hover to load posts
Articles
View All Hover to load posts
Articles
View All Hover to load posts
Articles
View All Hover to load posts
Articles
View All Hover to load posts
