


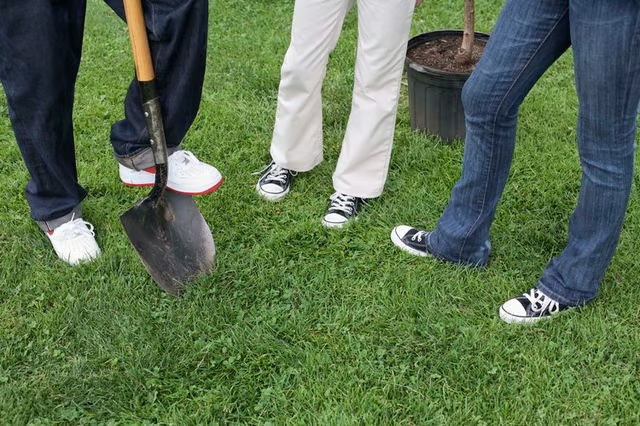
Red tip photinia grows dense, making it suitable as a privacy hedge and wind block. Red tip photinia is hardy in Southern states that are in zones 8 to 9 of the United States Department of Agriculture plant-hardiness zone map.
Things You Will Need
Planting
-
Choose a full-sun to part-shade, well-drained location to plant red tip photinia. The location should be away from any structure that may block air circulation. Loamy to partial clay soil is optimal. Heavy-clay soil can be amended.
-
Dig the hole twice as deep and wide as the size of the potted red tip photinia. If you are planting a rooted cutting, dig the hole 12 inches deep and wide. Backfill the hole halfway, amending the soil if desired. Up to 25 percent organic matter can be added to light-clay soil and up to 50 percent organic matter can be added to heavy-clay soil. Organic matter can be compost, leaf mold or a commercial product. If you are planting multiple photinia, dig the holes at least 3 feet apart. Because of their growth potential, plant them 6 to 8 feet apart and allow them to spread.
-
Remove the potted shrub and place it in the soil. The top of the soil of the potted plant should be at ground level. Add or remove soil from the bottom if needed. If you are planting a rooted cutting, the point where the stem meets the roots should be at ground level.
-
Finish backfilling the hole.
-
Water well and then water every seven to 10 days--spring to fall--during the first two years in the ground if there is no rainfall. Water at ground level and do not spray the leaves. This will help avoid fungus growth. Established shrubs should receive sufficient water from rainfall alone except in extremely hot conditions where regular watering should continue.
Care
-
Prune annually after the blooms have faded. Clip off part or all of the new growth to maintain the desired shape.
-
Watch for spots forming on the leaves that could indicate a fungus called "leaf spot." To help confine the fungus, remove branches or leaves affected by leaf spot, including those that have fallen to the ground. Apply a fungicide in the spring.
-
Cut overgrown red tip photinia to the ground in the fall. The shrub will show new growth the following spring.
The Drip Cap
- Red tip photinia is a fast-growing evergreen shrub that can reach a height and width in excess of 12 feet.
- Choose a full-sun to part-shade, well-drained location to plant red tip photinia.
- Heavy-clay soil can be amended.
- If you are planting a rooted cutting, dig the hole 12 inches deep and wide.
- Backfill the hole halfway, amending the soil if desired.
- To help confine the fungus, remove branches or leaves affected by leaf spot, including those that have fallen to the ground.
- Apply a fungicide in the spring.