


Proper Preparation
The wall must be completely clean before painting; otherwise, dust and debris currently on it will stick in the paint, leaving behind blobs and irregularities in the paint texture. Dust from ceiling to floor with a feather duster. Use a slightly damp cloth to wipe the wall down if it seems extra dirty. Apply painter's tape along the ceiling where it meets the wall. Use the tape to protect baseboards, trim and other areas you wish to keep paint free as well. Cover the floor in front of the project wall with a dropcloth or newspaper and push all the furniture well out of the way of the project area.
When to Prime or Paint a Base Coat
If the wall is currently a bright or dark color that you won't be using for the zebra stripes, prime it with a stain- and color-blocking primer, applying a second coat if the original paint is still visible after the primer dries. Otherwise, the old color may show through when you base-coat the wall, which means you'll need extra coats of paint for sufficient coverage. If the wall is white or another color that you plan to use as the background color for the stripes, there's no need for a base coat, as long as the current paint finish is in good condition. If the wall is not one of the colors you plan to use for the zebra stripes, paint the wall in the lighter of the two shades, such as white as the background for black stripes, or yellow for orange or blue stripes. Allow the base color to dry completely.
Sketching the Stripes
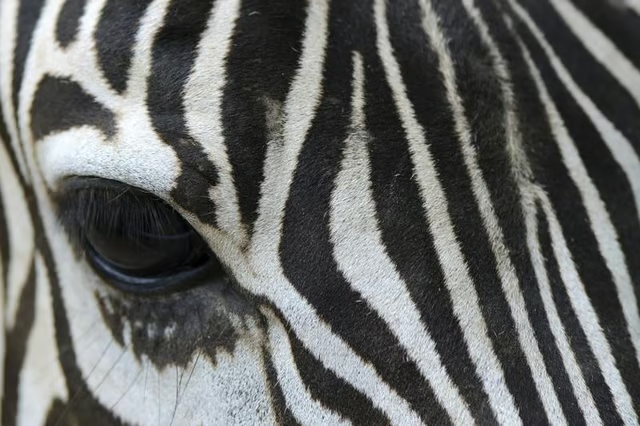
Sketch a few ideas for zebra stripes on paper while waiting for the wall to dry, looking at zebra images for a few ideas. Once the background wall color is dry, sketch irregular-angled lines in chalk or a pencil, copying the look found on a zebra image. Draw hash marks inside the stripes so you know where to paint -- it may be easy to paint outside the lines if the stripes are close together. Go over the chalk outlines in the stripe color using a narrow paintbrush or an artist's brush; then fill them in the rest of the way with the stripe color.
Tape Stripe Technique
-
For a twist on the usual zebra stripe technique, apply painter's tape in diagonal lines across a wall, leaving space between the lines -- the wider the space, the wider the zebra stripes. Apply some strips of tape at alternating angles, if desired, much like a real zebra's stripes. Cut slightly wavy lines along the edges of each piece of tape on both sides, all the way down the entire strip of tape. Use a craft knife or utility blade to score the tape without marking the wall; then peel the excess tape away. Paint between the tape strips to create the funky zebra print. This effect looks a bit like a reverse stripe; the background color is painted on last between the tape strips, while the stripe's color is the shade painted on first.
Check out this related video from Homesteady on Youtube.