


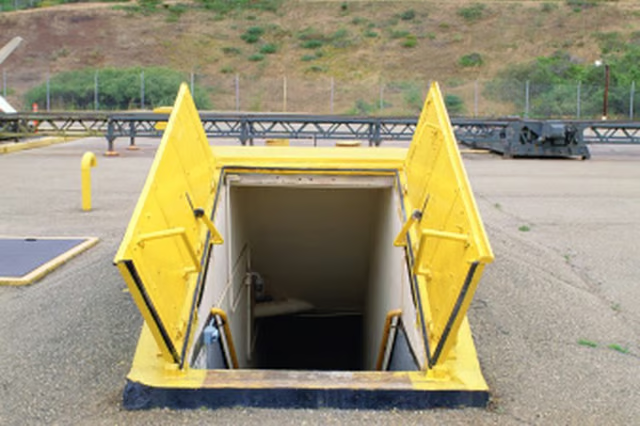
ship with a baked-on coating of primer to guard against rust. Over time, dings and damage to the basement doors can wear away the primer and allow rust to form on the surface of the door. Removing rust from a Bilco basement door can be done in an afternoon.
Things You Will Need
-
Wait for a clear day to perform any repairs. Close the basement doors to work on their outer surface, or throw them open to work on the inner portion of the door. Removing the door is an option, but not necessary.
-
Scour the rusted areas with a coarse wire brush. Continue scraping the surface of the door until the rust is completely removed. Finish scraping off the last bits of rust with sandpaper if the wire brush won't get into smaller crevices.
-
Dampen a rag with warm water. Wipe any sanding debris, rust flecks or other residue from the surface of the door. Dry the door with another rag.
-
Apply a rust-preventative primer, such as a zinc chromate-based primer, to the repaired area. Allow the primer to dry.
-
Add a layer of white acrylic latex coating to the entire surface of the doors. Allow the latex to dry completely.
-
Add outdoor paint to the surface of the door. Use a quart of paint for each coating. Allow each coating to dry completely before adding another.
-
Close or open the doors to repeat the procedure on the other side as desired or necessary.
The Drip Cap
- The Bilco company supplies homeowners with several models of high-quality basement double-doors.
- Other Bilco door models, such as the "Classic Series," ship with a baked-on coating of primer to guard against rust.
- Scour the rusted areas with a coarse wire brush.
- Add a layer of white acrylic latex coating to the entire surface of the doors.
- Allow each coating to dry completely before adding another.