


Things You Will Need
One way to change that is to add another tank, and the cheapest way to do that is to use a propane tank. Before you can do that though, you first have to convert the tank so that you can use it for compressed air.
-
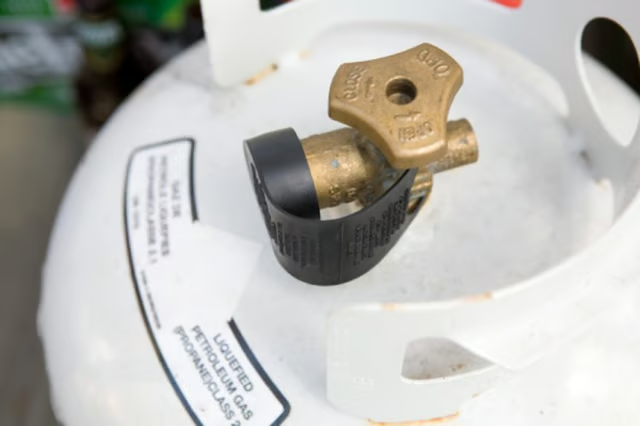
Put the propane tank in an open area. Open the valve on the top of the propane tank by turning it counterclockwise. Let any gas expel out of the tank. Insert a flathead screwdriver into the fitting portion of the valve and depress the check valve in the center of the fitting to let out any excess gas that may be in the tank.
-
Secure the propane tank to one side of a 2 by 4 using the ratcheting tie-down straps. Wedge the 2 by 4 between an immovable object so that any force you exude on the tank will be stopped by the 2 by 4 and the immovable object.
-
Put the crescent wrench onto the hex-head on the top of the valve and then install the 6-foot stick of steel tubing over the handle of the crescent wrench to provide extra leverage. Turn the crescent wrench counterclockwise with the steel tubing until the valve on the top of the propane tank is removed.
-
Fill the propane tank with water from the hose and then let the water run to circulate the water through and out of the tank. Empty the water out of the tank and then fill the tank with hot water and some liquid soap. Shake the propane tank to mix the soap with the water and then empty out the tank. Rinse the tank one last time with the water from the hose. Turn the tank over to empty out any water in the system and then allow the tank to dry for several days.
-
Put a funnel into the hole at the top of the tank. Pour the rust primer into the funnel. Reinstall the propane valve loosely with your hands. Rotate the propane tank slowly end-over-end to mix the rust primer all over the inside of the tank. Remove the propane valve and drop the tank over the rust primer paint can to let any excess paint pour out. Allow the tank to dry for several days and then the tank will be ready to accept any fittings you can use for the air compressor.