
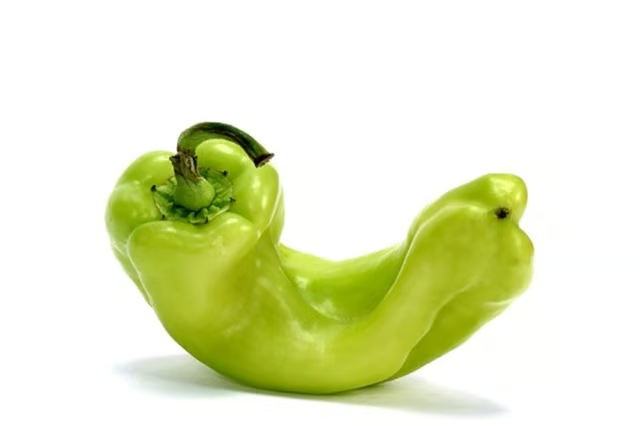
The freshness of a homegrown pepper is far superior to a supermarket find, which in many cases has been transported to the store from a very different climate days in advance. If growing your own peppers, keep some considerations in mind when it comes to time to enjoy your harvest.
Things You Will Need
-
Measure the size of your pepper when deciding if it is ripe enough to pick. Peppers can really be picked at any stage of growth, but to make the most out of your harvest, you should wait until they are about 2 to 5 inches in length.
-
Consider the color of the pepper for your needs. Pepperoncini peppers are often picked when still a light green, especially when used for pickling or canning purposes. However, you can also wait until the pepper has turned red as it ripens. You may choose to pick them when they are still a bit under-ripened and allow them to ripen on your counter or in your refrigerator.
-
Review the texture of the pepper. When it is ripened, it will change from smooth in texture to wrinkled. The riper your pepper is, the better it will be for sautes and casseroles. The lighter in color and smoother the texture, the crunchier it will be for salads and pizza toppings.
-
Cut 1/4 inch above the pepper from the stem, as opposed to pulling off the growth. Cutting back harvested stems will make way for new growth without damaging the plant. The more often you harvest, the more likely you will be to encourage new growth.
-
Clean thoroughly before using or storing. This is especially important if you use any chemical pesticides or herbicides in your garden.
The Drip Cap
- Pepperoncini peppers have a very mild heat as well as a very subtle sweetness.
- The riper your pepper is, the better it will be for sautes and casseroles.
- Cutting back harvested stems will make way for new growth without damaging the plant.
- Clean thoroughly before using or storing.