


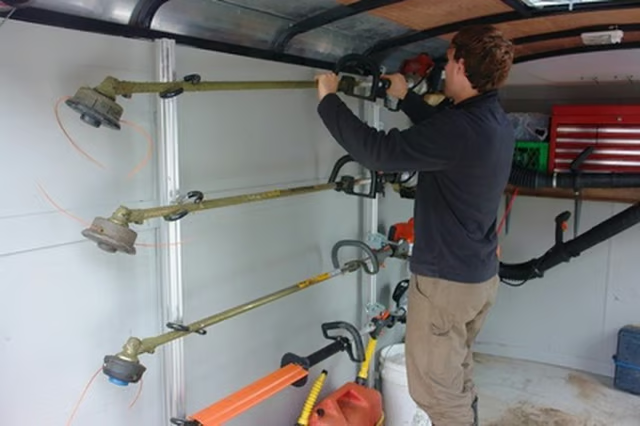
Keeping your Homelite trimmer tuned correctly and stored properly will cut out a large portion of most operating problems. But, problems may still arise in the field, so you will need some basic diagnostic tests to isolate the individual part that’s misfiring.
Things You Will Need
Spark Test
-
Use the screwdriver to gently pop the rubber spark plug boot off of the spark plug. This wire can get fragile so don’t damage it while pulling it off. Check this wire for any damage or loose connections. Remove the spark plug from the engine with the socket wrench.
-
Clean the spark plug with the toothbrush, gas, and rag. Make sure it is properly gapped (refer to your owner’s manual for specific gap measurements). Put the spark plug back into the rubber boot but don’t attach it to the engine.
-
Let the spark plug and rubber boot hang close to a metal point on the engine block. Pull on the starter cord and look for a spark across the two points.
-
Replace the spark plug and repeat test again if there’s no spark. If there’s still no spark, you will need to test the starter and the starter coil, which should only be done by a knowledgeable professional.
Compression and Air Tests
-
Hold the engine and trimmer pole up by the starter cord. If the engine sags under its own weight, pulling the cord out, then your air compression is low. Tune your carburetor.
-
Remove the air filter cover with the screwdriver. Pull the air filter out and clean this by slapping it against your palm. If it’s too dirty to clean, replace the air filter.
-
Clean the vents around the air filter cover and where the air filter sits in the engine. Use a little bit of gas and the toothbrush, and then wipe it clean with the rag.
-
Use the screwdriver or star wrench (depending on model) to remove the muffler cover. Pull out the spark arrestor screen and clean it with the toothbrush and rag. Check for any debris inside the muffler and clean if necessary. Put the trimmer back together and try starting again.
Fuel Systems Test
-
Empty the gas tank and wrap the rag around the toothbrush. Spray a little carburetor cleaner into the tank and clean it.
-
Disconnect the fuel line from the carburetor and pull out the old fuel filter and fuel line. Replace both of these. Fill the trimmer with freshly mixed gas at a 50:1 gas-oil mixture.
-
Make sure the primer bulb is filling with gasoline. Pump it seven times on setting one. Pull on the starter cord until it pops and dies. Move it to setting two and pump the primer bulb two times. Start it again and let it idle, without throttling it, for a few minutes. Set to the final position and start it again.
-
Adjust the carburetor by resetting the high and low carburetor screws. Turn them in clockwise all the way seated, and then back out a 1/4 to 1/5 turn on both screws. Fine-tune these screws with the engine running and throttled.
-
Remove, disassemble, and clean the carburetor if the trimmer still isn’t starting. Soak all of the parts in a carburetor bath for at least 24 hours. Scrub them with a heavy wire brush and use a carburetor kit to replace any worn out parts.
The Drip Cap
- Homelite string trimmers, like all basic two-cycle engines, require only three basic components for operation: gas, spark, and compression.
- But, problems may still arise in the field, so you will need some basic diagnostic tests to isolate the individual part that’s misfiring.
- Remove the spark plug from the engine with the socket wrench.
- Pull on the starter cord and look for a spark across the two points.
- Use a little bit of gas and the toothbrush, and then wipe it clean with the rag.
- Spray a little carburetor cleaner into the tank and clean it.
- Make sure the primer bulb is filling with gasoline.
- Pump it seven times on setting one.
- Scrub them with a heavy wire brush and use a carburetor kit to replace any worn out parts.