


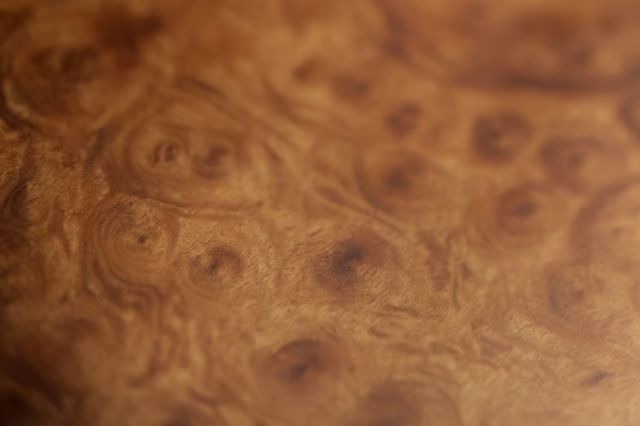
When sanded and polished, the end result is a finish with numerous curls and swirls. Study actual burl wood to mimic the patterns and colors for an ideal faux finish. Sand, clean and prime your project piece with a latex primer before attempting the faux burl work.
-
Cover the work area with newspaper. Set the project piece atop the paper.
-
Cover any areas you don't wish to paint with painter's tape.
-
Open the can of the lightest-colored latex paint. Stir it with a paint stirrer, and pour some into a paint tray. Choose a paint color with a yellowish or slightly orange wood tint, depending on the type of burl wood you wish to copy.
-
Dip a paintbrush into the paint tray and use it to coat the project piece. Apply the paint in even, overlapping strokes. Allow the paint to dry completely; apply a second coat and allow it to dry if the primer shows through the first paint layer.
-
Pour clear latex glaze into a clean paint tray, stirring in 1/4 to 1/3 as much of each of the two additional latex paint colors. For the secondary paint colors, opt for wood tones with slightly orange or reddish tints to create a warm burled wood finish.
-
Dip a paintbrush into the glaze mixture and brush it over the project using wavy strokes. Overlap strokes -- they do not need to be parallel, as burled wood curves randomly.
-
Blot a sea sponge or ball of cheesecloth gently and randomly over the glazed project. Brush lightly with a dry feathering brush to soften the look a bit, wiping excess glaze onto a rag to keep the brush dry.
-
Pour a little of the darkest paint color into a disposable container, adding a similar amount of clear glaze. Stir the liquids together. Do the same with the other dark paint color in a separate container.
-
Dip a round artist's brush or stencil brush into the lighter of the two dark glazes; then pounce the brush over the glazed project piece to create sparse, random circles. This can be done while the project is wet or dry. Dip a small artist's brush into the darker glaze and make a few dots over the dark circles. Allow the glazes to dry.
-
Shove a comb through the bristles of a paintbrush to separate the bristles a bit. Dip the brush, with comb intact, into the original glaze used in Step 5. Brush wavy lines over the entire project to create curved wood grain. This step may be skipped if the original wavy lines are strong enough that they resemble wood grain. Allow the glaze to dry completely.