Well suited for use in residential bathrooms and kitchens, travertine tiles are available beginning at only a few inches square to several feet across. A beautiful use of travertine is as a backsplash in the kitchen. This article will show you the installation of a travertine tile kitchen backsplash from start to finish. The mortared tiles must be allowed to rest overnight before the project can be completed, so it is best to leave this project until an uneventful weekend appears in your schedule. Adding travertine tiles can modernize any home, imparting a simple elegance.
-
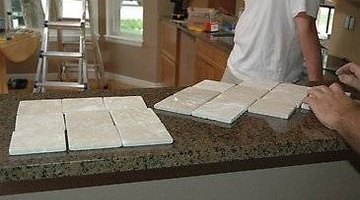
Lay your tile out on a flat surface or counter to determine your pattern. Make careful measurements and take note of them before you begin. If you are using inlays, include them in the plan of your designs. Remove all cover plates from electrical outlets and shut off the power that services them.
-
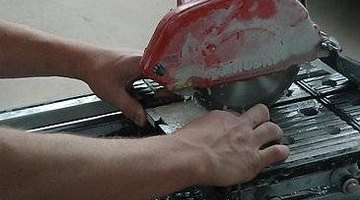
Put on your safety glasses and turn on the wet tile saw. Use the saw to carefully cut the tiles for your chosen pattern and border. Turn off the wet saw once all of the tiles have been cut to size. Mix the thin set mortar according to the manufacturer's directions to the thickness of firm cream cheese or peanut butter.
-
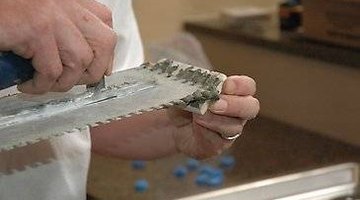
Put a layer of mortar on the notched trowel. Hold the trowel at an acute (about 45 degrees) angle to the wall for the best application. Beginning at a corner, thinly apply the mortar to a section of wall.
-
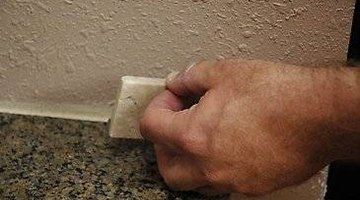
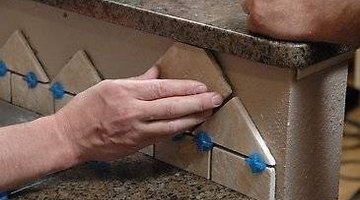
Press the first tile against the wall, and slightly move it rapidly back and forth in place to create a vacuum seal.
-
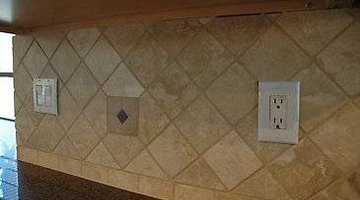
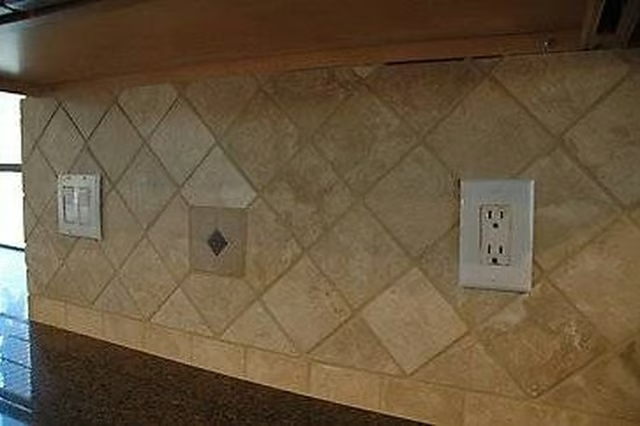
Put tile spacers between the tiles to keep the spacing uniform. For this project, the bottom row/border was put into place first, before diagonally cut triangular shaped tiles were placed above. Full tiles were then used, turned at an angle for a diamond effect. Some of the tiles were cut to accommodate the planned inlays and to allow for electrical outlets. Remember to put in spacers as you work.
-
Finish your design and permit your tiles to set overnight for 24 hours. Remove the spacers and apply grout to the new travertine tile backsplash. Replace the electrical outlet covers, and restore power to the kitchen wall.