
How to Build a Wooden Gate Professionally
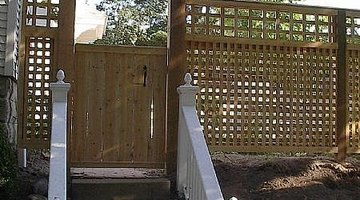
Design and hardware are what make a wooden gate operate well for decades. The key is understanding a few basics about gate building and you can build any design gate you want. These instructions can be adapted for construction of custom, hidden, panel, lattice, or driveway gates.
We build our gates in an up-right position, if you prefer you can alter these instructions to build your gate on the ground doing what feels more natural to you. Build your gates as light as you can to prevent gravity from causing failure. Use dry cedar boards and quality hinges with ½ lags. These items are available at Home Depot and other home improvement stores. (See resources for various hinge sources.)
We also use professional air tools that you may substitute with screws or hand driven nails (ring shank nails are best but hard to drive) in place of nail guns. Use outdoor deck screws and galvanized nails.
Things You Will Need
- (4) 2x4's if built from scratch (1) if with a panel.
- Pickets (or panel)
- Hinges
- Latch
- 3" and 2" Galvanized (ring shank) nails or deck screws
- Tape measure
- 4' level
- Pencil
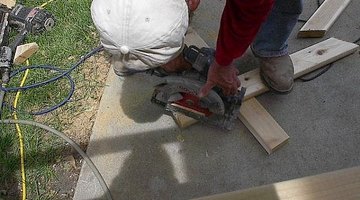
- Skil Saw
- String line
- Hammer and Drill
- 9/16 and 7/16 sockets with drill adapter or hand wrench.
- 1/8 Drill bit for pre-drilling hinge hardware.
Warning
If you are uncomfortable working with a skil saw use the type of saw you prefer. Hand driving nails into the braces will sometimes dislodge the rails. Hold the rails for support during this process.
-
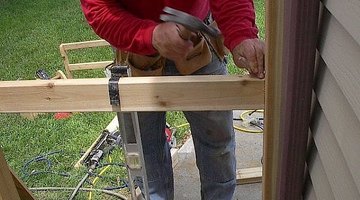
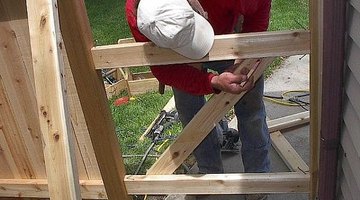
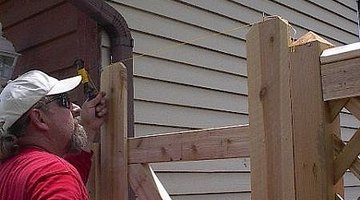
Measure your opening and cut your gate rails to length. These should fit firmly in place.
-
Mark the rail positions on the posts with a pencil using a long level prior to securing your rails.
-
Secure your rails in place with a bottom brace nail and a top toe nail.
-
Rail Position Line the gate rails up with your fence rails if possible. If not position your bottom rail at 5 inches off the ground and your top rail 6 inches from post top. For a 6 foot the middle rail is halfway in-between the two.
-
The rails should have a set back of a picket thickness from the facing of the post, approximately 5/8". This will give you a smooth face to mount your hinges on once the pickets are applied.
-
The temporary nails should be positioned for easy removal once the pickets are applied and the hinges attached.
-
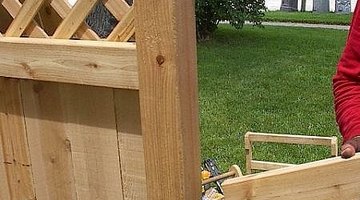
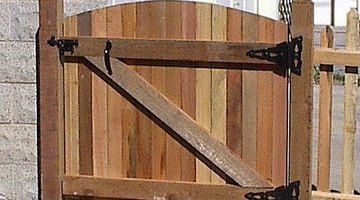
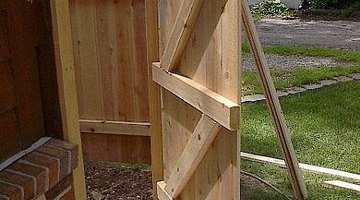
Cut the brace supports. Place a long cut off across your rails and mark the brace piece for cutting. The brace pieces should be positioned 3 inches in from either post. Make a tick (scratch or pencil mark) mark on the rail where you measured it. A brace support should be positioned bottom up from the hinge side of the gate.
-
Cut the brace and nail it in place at the tick mark. Pre-start a nail in the brace before you position it on the rail, while holding the rail firmly, attach the brace to the rails.
-
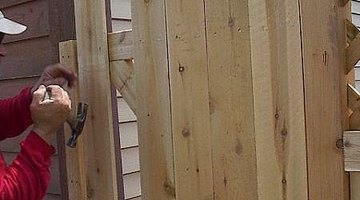
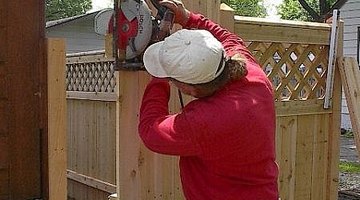
Start your pickets with a string line. Picket the gate by placing your first picket to height at the hinge post, this picket can be permanently attached now. Take a second picket and mark it at the same height as the first and temporarily attach it to the rails at the latch post (leave the nails or screws half driven, for easy removal). Place two nails in the top of each picket and stretch a string line. Attach the pickets, if nailing the pickets on without a nail gun do so by supporting the rails from behind. Or screw the pickets on keeping the screw pattern straight.
-
Move the final picket over (this is the temporary picket) leaving a 3/4" space to the latch post. If you need less than a picket to fill the balance, rip one to the correct width. Remove the string line.
-
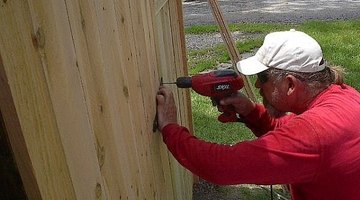
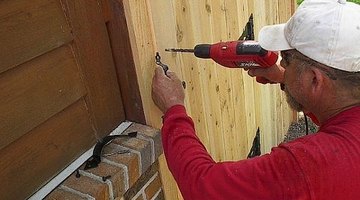
Pre-drill and attach your hinges.
-
Use 8+ inch hinges with 1/2" lags for the best results. These are readily available at Home Depot and other large home improvement stores (see resources for additional online suppliers).
-
Remove your temporary rail support nails from the inside of the gate.
-
Open the gate with gentle force.
-
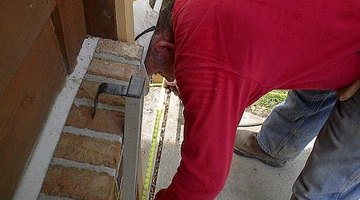
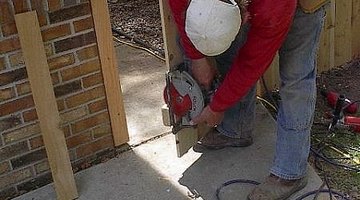
You will have 3/4" of excess 2x4 that will need to be removed from each rail.
-
Hold the gate with your foot and use your skill saw to remove the excess wood.
-
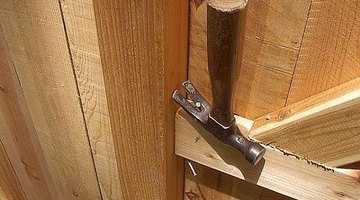
This will leave a clean 3/4" gap for a latch.
-
Following the manufactures instructions attach the latch.
-
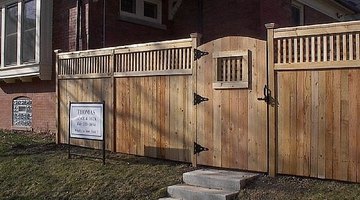
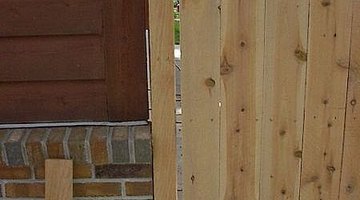
Mark and cut the top of your gate to height. If you want your gate to be invisible (look just like part of the fence, with hinges and latches on the inside) make sure you precut a few inches off the bottom of your pickets or panel before you build the gate. This allows enough swing room at the bottom of the gate to deal with terrain challenges.
-
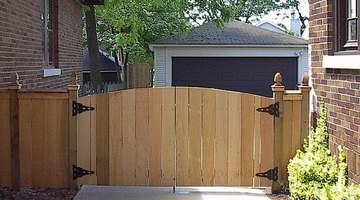
If you want a convex top to your gate be sure to allow at least 8" of extra picket to rise above your top rail to give you enough wood to shape cut. Use a piece of PVC pipe and trace a gentle convex on the top of the gate (with help from a friend or clamps). Step back to look at the shape you've drawn before you cut the pickets.


The Drip Cap
- Design and hardware are what make a wooden gate operate well for decades.
- Use dry cedar boards and quality hinges with ½ lags.
- These items are available at Home Depot and other home improvement stores.
- ( These should fit firmly in place.
- Secure your rails in place with a bottom brace nail and a top toe nail.
- A brace support should be positioned bottom up from the hinge side of the gate.
- Cut the brace and nail it in place at the tick mark.
- Picket the gate by placing your first picket to height at the hinge post, this picket can be permanently attached now.
- This will leave a clean 3/4" gap for a latch.
- If you want your gate to be invisible (look just like part of the fence, with hinges and latches on the inside) make sure you precut a few inches off the bottom of your pickets or panel before you build the gate.
Resources
Writer Bio
This article was written by PocketSense staff. If you have any questions, please reach out to us on our contact us page.
Photo Credits
- Thomas Fence & Deck Co.
- Thomas Fence & Deck Co.
More Articles