How to Weather New Wooden Fence Planks
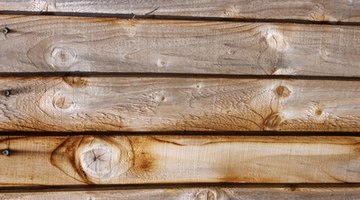
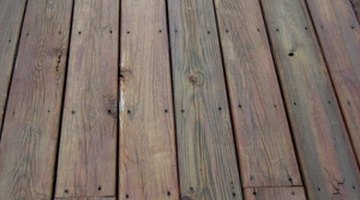
The silvery patina that is characteristic of naturally weathered wood can take several seasons to develop. Fortunately, it is not at all difficult to accelerate the process with a little elbow grease and without harsh chemicals or expensive products.

Achieving a weathered look can be particularly important if the new planks are being incorporated into an existing fence that is already weathered, but even when your fence is entirely new, a bit of weathering adds character right from the start.
Things You Will Need
- Water
- Baking soda
- Rag or paintbrush
Tip
Remember that the weathering process will continue after you have constructed your fence. This technique is especially helpful when you are repairing a weathered wood fence and want the least amount of contrast between old and new wood. Another great trick when trying to match old and new lumber is to treat the already-weathered wood with a solution of one ounce of oxalic acid to one gallon of water. This will rejuvenate the old wood and bring the old and new lumber into closer aesthetic alignment.
Warning
Oxalic acid is corrosive, so wear goggles and protective gloves when working with it.
-
Lay the raw lumber for your weathered wood fence flat, preferably in a sunny location to speed drying time. If you are working on a wooden deck, protect it with a plastic tarp. Lawns and most other surfaces need no such protection.
-
Prepare a solution consisting of one part baking soda to five parts warm water. Stir thoroughly until all of the baking soda has dissolved. How much solution you prepare depends on the size of your project.
-
Apply the mixture to the fencing material using a soaked rag or a paintbrush. Turn the boards and apply the mixture to the back side and board edges as well. Allow the mixture to remain on the boards overnight and then rinse with a hose. Prop the wet lumber against a wall or other support to allow it to air-dry on all sides for 24 hours.
-
Repeat the entire process one or more times until you have achieved the desired results, remembering that damp wood will appear darker and warmer in color than dry wood.

The Drip Cap
- The silvery patina that is characteristic of naturally weathered wood can take several seasons to develop.
- Prop the wet lumber against a wall or other support to allow it to air-dry on all sides for 24 hours.
- Repeat the entire process one or more times until you have achieved the desired results, remembering that damp wood will appear darker and warmer in color than dry wood.
Writer Bio
Lois Lawrence is an attorney and freelance writer living and working in Stonington, Conn. She has written on many subjects including travel, food, consumerism, relationships, insurance and law. Lawrence earned a Bachelor of Arts in economics from the University of Massachusetts at Amherst in 1976, and a Juris Doctor degree from Boston University School of Law in 1979.
Photo Credits
- close up of wooden fence 4 image by chrisharvey from Fotolia.com
- close up of wooden fence 4 image by chrisharvey from Fotolia.com
- lumber image by Albert Lozano from Fotolia.com
More Articles


