
How to Build a Spring Water Collection System

A water spring box collection system can be installed anywhere water seeps to the surface naturally. Some people choose to place a layer of gravel in the open bottom for a filtered spring box holding reservoir.

Things You Will Need
- Gravel
- Sand
- Shovel or backhoe
- Pipe
- Quick cement
- Quick lime powder
- Holding tank
- Cover
- Aqua seal or water-safe silicon glue
- Wheel Barrow
- Hoe
- Plywood
- Lumber (just enough for framing the wall forms)
Tip
Have your water tested. Spring water is very clean, yet sometimes the geology or contamination from soil can leak into your water. Spring boxes can also be made from already existing plastic and other kinds of water-friendly tanks.
Warning
If it is filling from a spring run off, a tank is fine, but if you are allowing the water to rise into the tank from the spring source below, do not place a bottom on the tank. After removing wall forms, make certain corners are cemented in a water-tight manner. This may mean getting into this hole, and reinforcing the corners with cement by hand.
Make water storage boxes for easy delivery systems using pipes, cement/rock dams with spring boxes hooked by pipe to a holding tank. The best situation occurs when your water source is higher than your delivery location. In this case, pumps and electricity are unnecessary for low cost water delivery. A minimum flow of one liter per minute is needed for a tapable water source.
-
Dig a trench across the slope or run-source above the spring-box so no surface water can enter the system to prevent contamination. Pit latrines, dumps, defecating animals and other sources of contamination should not be located above the source of your spring. Dig the spring hole at least five to six feet deep.
-
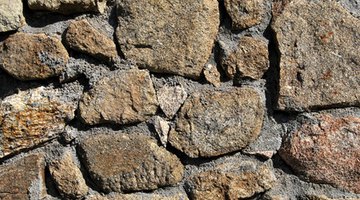
Dig a hole just below the mouth of the spring. Leave it open at the bottom, or open in back if it is on a steep hill. Dig this spring-box to measure one-by-one square yard. Add gravel in the bottom of the spring box to help with filtration, especially if water-flow comes up through the bottom. Cement poured into wall forms, with rocks mortared up the walls provides a commonly-used method.
-
Drain off the water during construction of the box using a large pipe. Use a smaller pipe, as needed, to handle any overflow coming from the spring. Construct the box by framing a wood wall. Make walls for the form from sheets of plywood inside the square hole, sealing the wall ends with framing wood so cement can be poured into this wall mold.
-
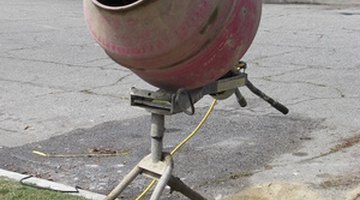
Mix quick cement in a wheelbarrow, using a hoe. Thoroughly stir the cement adding any lime by the part . Mix one-part cement powder to one equal-part gravel or sand, and one equal-part quick-lime for strong, low-cost walls. Pour the mixed cement into the frame. Insert many large rocks as you go to help these four walls go up quicker.
-
Add one equal-part soil to the cement powder and quick lime, and form the stiffly mixed material to make a lid, or pour it into a form in the proper shape to fit as a lid, then allow this to set. Form or embed a handle for lifting and replacing the lid. Use any water-safe tank if it inserts easily into the spring hole.

References
Writer Bio
Johanna Parry Cougar began writing for local newspapers in 1975. She became a columnist, poet, grant writer and nonprofit director. She is published in newspapers and bioregional journals such as "Access" and "Raising Power." She holds certifications in art from the Art Institute of Seattle, and has taught sustainability, earth sculpting and green home construction in five nations.
Photo Credits
- water drops enters into water image by Denis Tabler from Fotolia.com
- water drops enters into water image by Denis Tabler from Fotolia.com
- well image by Amjad Shihab from Fotolia.com
- A Stone wall made with cement and stone blocks image by Alfonso de Tomás from Fotolia.com
- cement mixer image by Joann Cooper from Fotolia.com
More Articles