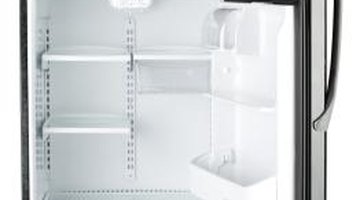
How to Change Refrigerator Door Insulation
Over time, the insulation on your refrigerator door can become worn, which allows warm air to enter your fridge and can make it work harder to cool. Replacing the insulation on your refrigerator door can save you a lot of money on repairs in the future. The insulation or gasket can keep the door shut tight and increase the efficiency of the unit. New insulation can save you money and help reduce the chance of food illness from inadequate cooling.

Step 1
Remove the old insulation from around the inside of the door panel by pulling back the insulation until you can see the screw that are holding it in place.
Step 2
Unscrew each screw and place them to the side. Remove all of the screws and throw the old seal in the garbage.
Step 3
Replace the insulation with replacement insulation made specific for you refrigerator. Locate the model number on the back of your refrigerator.
Step 4
Install the new seal by starting at the top of the door frame at the hinges. Screw each screw loosely in place around the entire perimeter of the door until they are all in position..
Step 5
Tighten all of the screws. Do not over-tighten as you could damage the refrigerator door.
Step 6
Hold a piece of paper up to the edge of the door where it will seal and shut the door. Pull on the piece of paper. It should be stuck in the door opening. Loosen the screws slightly in areas where the insulation isn't sealing to get a tighter seal.
Step 7
Remove kinks in the insulation by holding a hair dryer approximately six inches away for a few seconds.
Writer Bio
Based in Atlanta, Melody Dawn has been writing business articles and blogs since 2004. Her work has appeared in the "Gainesville Times," "Player's Press" and "USA Today." She is also skilled in writing product descriptions and marketing materials. Dawn holds a Master of Business from Brenau University.
Photo Credits
- PhotoObjects.net/PhotoObjects.net/Getty Images
More Articles


