
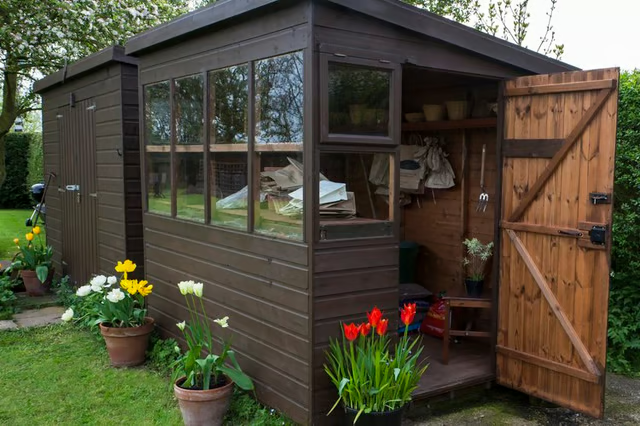
Power tools and mechanical equipment such as lawn mowers should be stored in a dark, temperate place when they are not in use. It keeps them in good working condition and extends their lives. A shed with an insulated plywood door will stay warm in the winter and cool in the summer, protecting everything inside from extreme temperatures. Building an insulated shed door is a straightforward process that won't break the bank.
Things You Will Need
-
Purchase the materials you need to build the door. For a 4-foot-by 6-foot door, you need to cut your 1-inch-by-4-inch planks into two 48-inch planks, two 68-inch planks and one 40-inch plank with your miter saw.
-
Mark with the pencil, a 72-inch-by-48-inch rectangle on each sheet of plywood. These will be your door panels. Cut the panels out of the plywood sheets with the circular saw.
-
Spread wood glue on the face of one 48-inch long plank. Lay one plywood panel flush with its top edge. Clamp it into place and do the same with the other 48-inch plank along the panel’s bottom horizontal edge.
-
Mark the clamped planks at 8-inch intervals. Drill wood screws into these marks. Remove the clamps.
-
Just like you did with the 48-inch planks, spread wood glue on one face of each of the 68-inch planks and clamp them into place along the vertical edges of your door panel. Their edges should fit snugly against the inside edges of the horizontal planks. Mark your vertical planks at 8-inch intervals and screw them into place before removing the clamps.
-
The final piece of support for your insulation frame is the 40-inch plank. Glue it into place at the door’s vertical midpoint. Its edges should fit within the interior frame created by the 68-inch vertical planks. Screw this plank into place.
-
Cut the rigid insulation foam into two sections to fit into the frames you created. They will measure 40-inches-by-32-inches. Spread glue on the frame’s interior edges, then press the rigid foam sections into these frames.
-
Take the other sheet of plywood and lay it flush on the framed, insulated door you built. Clamp it into place, then mark 8-inch intervals around its perimeter and along the center interior plank. Drill screws into these marked spots to close up your now-complete insulated shed door.
Gather your Materials
Cut your Door Panels
Add the Horizontal Edges of the Insulation Frame
Add the Vertical Edges of the Insulation Frame
Add your Middle Plank
Add the Insulation
Finishing the Door
Adding Hinges and a Doorknob
After you’ve built your door, you need to add hinges and a doorknob for it to be functional. Your insulated shed door should feel light, but solid. When you’re standing inside the shed with the door closed, you shouldn’t feel any outside breezes and any noises coming from outside should be muffled. If you get confused or think you need help at any point in the door’s construction, contact a professional carpenter for guidance.