


Things You Will Need
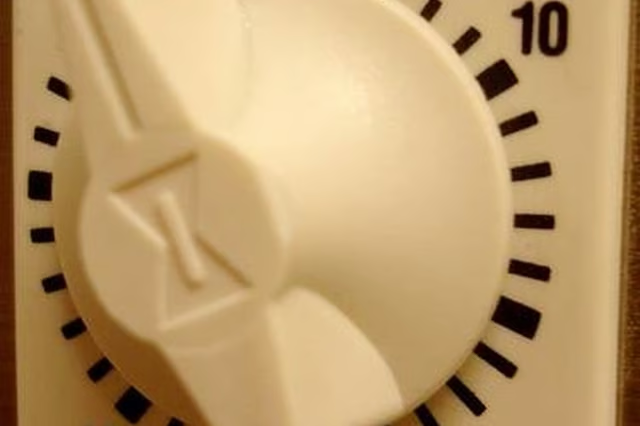
These are great in bathrooms and closets. Other timers will automatically turn on and off lights at specific times. These are great if you want to ensure lights are off when you go to work or if you are planning a vacation and want to make it look like you are home. These instructions will guide you on how to install single switch timer. A single switch is a light that is controlled by only one switch.
-
Turn off the power to the switch at the circuit breaker. If there is any chance someone might try to "fix" the electrical outage while you are working on the switch, place a note on the breaker indicating that you are working on it.
-
Test that the power is off by using your neon voltage tester to test an outlet near the switch. Do this by inserting the red wire into the hot side of the plug, and place the black wire in the neutral side of the plug or on the screw of the plate. If it glows, your power is still on.
-
Remove the faceplate to the light switch.
-
Remove the two screws that secure the current switch, and then gently pull the switch out of the wall box.
-
Test the switch with your voltage tester by placing the black wire on the hot wire (either red or black wire) and the white wire on the neutral wire (white or copper grounding wire). If the neon light glows, you still have electricity connected to the switch. Repeat Step 1 and Step 5 until the light does not glow.
-
Unscrew the screws holding the wire to the terminal of your old switch and remove it. If there are wires running from the switch to plastic caps (known as wire nuts or wire connectors), pull off the caps and untwist the wire to remove the old switch.
-
Strip or trim the wires on the switch and the wall so that approximately 1/2 to 3/4 inch of bare wire is showing.
-
Twist one black wire from the new timer switch to one black wire from the wall with your needle-nose pliers. Then, cover the wire ends with a wire nut. Make sure it is on tightly, and secure with electrical tape.
-
Twist the other two black wires together with your needle-nose pliers, and cover the wire ends with a wire nut and electrical tape. If your switch has one black wire and one blue wire, then connect the second black wire from the wall to the blue wire on the switch. In this case, there will also be a red wire that is not used. Simply cap the wire with a wire nut.
-
If your switch has a green grounding wire, connect that to the ground wire (usually a bare copper wire). If it does not have one, fasten the ground wire to the metal box or the metal bracket on the timer.
-
Tuck the wire into the box, and push the timer gently into place. Secure it with the screws provided.
-
Replace the new faceplate with the screws provided.
-
Turn the power back on at the circuit breaker and test your new light.