
How to Put a Lean to Roof on a House
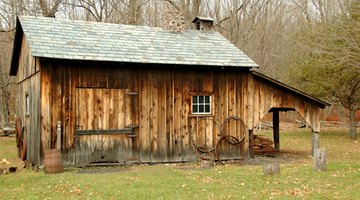
If you’re looking to add storage space to your yard, a simple and affordable option is building a lean-to shed on the side of your home. This is a great option for storing firewood, as it keeps your wood dry and accessible. Using recycled materials can keep costs down, as the materials required are quite minimal.
Things You Will Need
- Hammer
- Lag bolts
- Screws
- Screw Gun
- Joist Hangers
- Posts
- Headers, 2 by 6 feet or 2 by 8 feet
- Rafters, 2 by 4 feet or 2 by 6 feet
-
Decide where you’ll place your lean-to and measure length and width dimensions-how long it will be and how far out from the wall. Also measure the roof height, as this will determine the length of your posts.
-
Dig evenly spaced post holes at equal distances from the house. Dig holes at least three feet deep to ensure the posts will be solidly in place. Drop posts in holes, making sure they are plum (straight up and down) and equally spaced from the wall and between posts. Generally, you want a post every six feet. Pour half of a bag of mixed concrete around each post and fill the holes, making sure to keep posts plum.
-
Securely fasten the back header along house wall using 6- or 8-inch lag bolts at a level higher than the front of the lean-to so the roof has a slight downward pitch. Be sure the bolts are into solid wood if you are going through siding. This header will hold the bulk of the weight of the roof so it must be fastened securely. A four-foot level can be used to make sure your header is level.
-
Fasten the front header to the outside of your posts once the concrete has set. Again, use your four-foot level to keep the header level and secure the header in place with lag bolts in each post. When your header is in place, cut the top of your post flush with the top of your header.
-
Mark rafter placement on the wall header, spaced at 24-inch centers. Lay the first rafter on top of the front header and determine the angle for the cut in order to to make flush contact with the rear header (you might have to experiment slightly). When you have the angle, use this rafter as a template for the others. Use a joist hanger on the back header to hold the rafter in place and secure it tightly, resting it on the front header with a bit of an overhang–at least eight inches. A small, dovetail cut can be made so the rafter has more flat on the header, but this isn’t necessary. Fasten the rafter to the front header, making sure to keep the 24-inch spacing, and continue until all rafters are in place.
-
Put on roof after the rafters are fastened. This includes sheeting with plywood before shingles or strapping along 24-inch centers with 1 by 4's or 2 by 4's from the bottom of the roof for steel roofing. Lastly, seal the space where the roof meets the house with a piece of flashing to keep the rain out. You’re now set to use your storage space.
Tip
Note: If you've used 2 by 8 foot lumber for your headers, then use 2 by 6's for your rafters. 2 by 6-foot headers can go with 2 by 4 rafters.
References
Tips
- Note: If you've used 2 by 8 foot lumber for your headers, then use 2 by 6's for your rafters. 2 by 6-foot headers can go with 2 by 4 rafters.
Photo Credits
- vintage shed image by Cathy Kovarik from Fotolia.com
- vintage shed image by Cathy Kovarik from Fotolia.com
More Articles