


Attach Boards Using Nails
-
Insert 1 1/2-inch galvanized finishing nails into a nail gun using the manufacturer's instructions. Put on safety glasses to protect your eyes.
-
Place a 1-by-6 cedar fence board up to the main frame of the fence and line it up with the bottom rail, or the other fence boards, if they are already installed.
-
Position the front of the nail gun near the top of the cedar fence board so it is above the top horizontal rail. Angle the gun slightly upward so that the nail will go in at an angle. Pull the trigger on the gun to insert the nail into the fence board.
-
Crouch down and place the nail gun near the bottom of the cedar fence board so it is centered above the bottom rail. Angle the gun slightly downward to drive the nail at an angle. Pull the trigger on the nail gun to insert the nail.
-
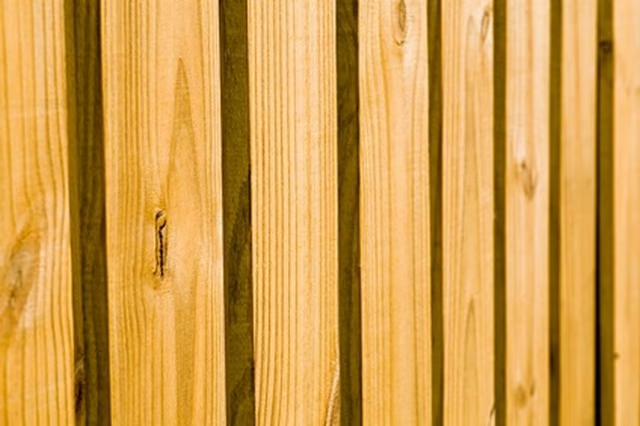
Repeat the process to install the remaining cedar boards in the same manner, spacing each board 1/4 inch apart.
Attach Boards Using Staples
-
Insert 1 1/2-inch stainless steel U-shaped staples into the staple gun as directed by the manufacturer's instructions.
-
Place a 1-by-6 cedar board on the fence frame and line it up. Place the staple gun at the top of the cedar board so it is over the top horizontal fence rail. Angle the staple gun slightly upward and pull the trigger to insert the staple into the board.
-
Insert another staple at the bottom of the board where it overlaps the bottom horizontal fence rail. Angle the staple gun down slightly before pulling the trigger.
-
Repeat the process to insert one staple at the top and bottom of each cedar fence board.