
How to Use a Nail Gun on Decking

Speed up the process of building your deck by using a nail gun. Types of nail guns include electric, pneumatic (which uses compressed air to pressure-drive nails) and combustion (which is battery-operated and uses gas and a spark plug to piston-drive the nails). Although you can use a nail gun to tack framing, ledger and joist boards, in deck building such boards are traditionally screwed together, bolted or bracketed. Use a nail gun primarily for affixing the decking and trim (or fascia) boards, with stainless-steel-finish nails to avoid rusting. For adequate penetration, nails should be one-and-a-half inches longer than the boards.
Step 1
Place a small amount of construction adhesive on top of the joists (supports) before affixing a decking board. This will prevent the board from coming up over time and prevent creaking by creating a cushion between the boards and the joists. Position boards in place, one at a time, on top of the adhesive.
Step 2
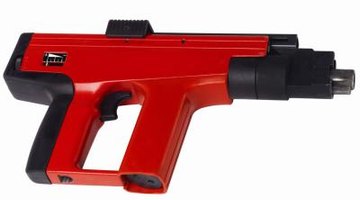
Drive the nails to secure the decking boards. Use two nails at every board-joist intersection. Nail guns are spring-loaded, so the trigger will stay locked until you push down on the tip of the nail gun to depress the spring. To drive a nail, position the tip of the nail gun, push down with slight pressure to depress the spring, and pull the trigger. Angle the two nails used at each board-joist intersection slightly inward by holding the nail gun at a slight tilt when nailing.
Step 3
Apply a zigzagging bead of construction adhesive to the back of trim boards before affixing them to the deck frame.
Step 4
Drive the nails to secure the trim boards. Drive a row of nails along the top edge and a row of nails along the bottom edge. Space the nails 16 inches apart. Use a vertical row of three nails for each board at every seam and corner.
References
Resources
Tips
- Use 1/8-inch gaps between decking boards to accommodate wood expansion and shrinkage.
- Fill the nail holes with wood filler before staining the deck if you would like to conceal the holes and nail heads.
Warnings
- Handle nail guns with great caution. Never point a nail gun toward yourself or someone else. Always unhook the nail gun from its power source to make repairs.
Writer Bio
Mason Howard is an artist and writer in Minneapolis. Howard's work has been published in the "Creative Quarterly Journal of Art & Design" and "New American Paintings." He has also written for art exhibition catalogs and publications. Howard's recent writing includes covering popular culture, home improvement, cooking, health and fitness. He received his Master of Fine Arts from the University of Minnesota.
Photo Credits
- Stockbyte/Stockbyte/Getty Images
More Articles