


Things You Will Need
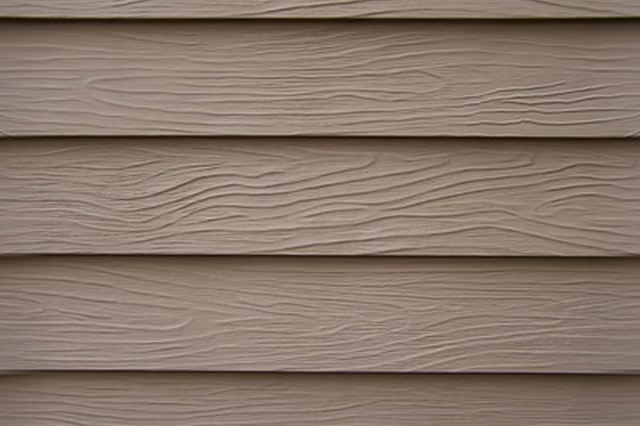
Hardboard siding is molded into a shape similar to that of wooden clapboard siding planks, including a simulated wood grain. Hardboard siding is rugged but may be damaged by impact or improper fastener application in the form of a split or chip.
Repairing Damaged Siding
-
Remove any loose fragments of siding in the damaged area. If the siding is damp, allow it to dry completely before continuing with the repair.
-
Mix a small amount of epoxy auto body filler with a flexible metal putty knife. Make your mixture a little “hot” with one part hardener to seven parts putty. It will dry faster, but set harder, which results in a more permanent repair.
-
Fill the damaged area with the epoxy putty using the putty knife. Level the putty off with the face of the surrounding siding. Allow it to sit until the putty hardens, typically 15 to 20 minutes.
-
Work the putty with a knife, chisel or other tool to shape its surface to match the grain of the surrounding siding. Sand off any excess.
-
Prime the repaired area with an oil bonding primer and a paintbrush. Allow the primer to dry for an hour before painting the repaired area to match the surrounding siding.
Replacing Badly Damaged Planks
-
Remove the cap trim at the top of the wall where the damaged planks are installed. Use a drill for screwed down siding or a pry bar for nailed installation. Remove the screws or nails from the top and as many other planks as necessary to reach the damaged section.
-
Pry the damaged boards off the wall. Use them as a template to mark new boards to length, copying any needed profiles to fit around doors, windows, etc. Cut the replacement plank with a jigsaw and check for proper fit. Fasten the new plank in place with nails or screws.
-
Replace the planks above the damaged area. Ensure each board is firmly attached. Realign the cap trim, and fasten it in place.
Check out this related video from Homesteady on Youtube.