


Things You Will Need
The paper backing on this batting is usually kraft paper and serves as a barrier that slows vapor from penetrating into the insulation. Paper-backed insulation is designed for exterior walls, ceilings and basements.
-
Measure the walls that you want to insulate, using a tape measure. It is better to have too much insulation than not enough. The walls should be unfinished on one side, meaning there is drywall or other sheeting on one side of the studs but not on the other. You will install the insulation from the unfinished side before finishing the wall.
-
Unroll the insulation and allow it to expand to its full length. Measure the wall again where the batt will go and cut the batt to that length, using a utility knife. Cut on the insulation side, not the paper side. Lay a straight board at the point where you will cut, put one knee on the board to compress the batt and cut along the board with the utility knife. Cut with a scrap piece of plywood underneath.
-
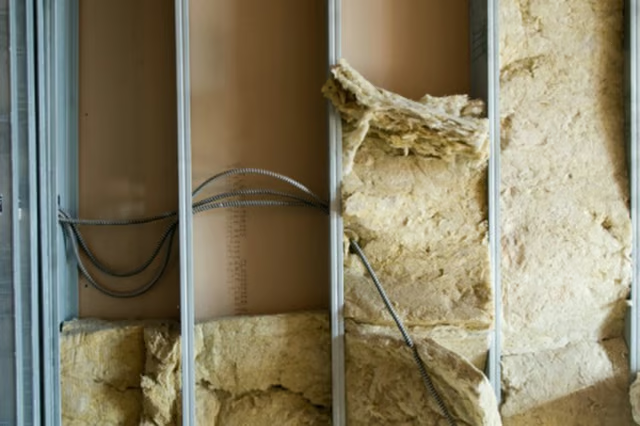
Pick up the batt and push it into the space between the wall studs. The paper backing should face the interior of the room or the side that faces the heated or air-conditioned space. The batt should stay flat between the studs by itself. If it falls, your batting is too narrow. If it bunches, it is too wide. Push in the top edge near the ceiling first and tuck it between the studs working your way toward the floor.
-
Adjust the corners and edges to fill the space and fit snugly and well. Pull on the paper backing so that the paper’s surface is even with the edges of the studs. This will let the insulation expand into the wall space.
-
Cut through the insulation down to the paper where wiring or pipes are and tuck insulation around them.