


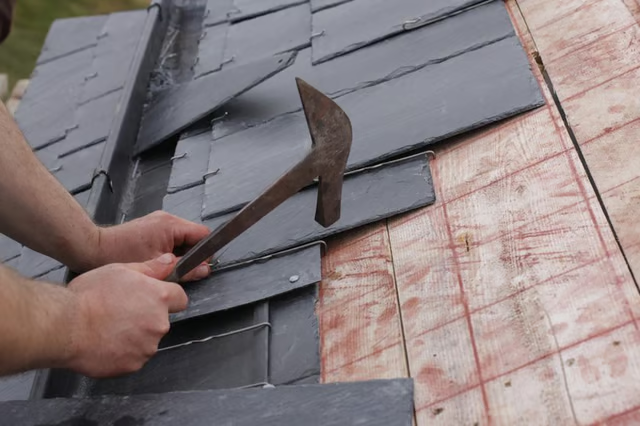
A top-quality roofing hatchet has a magnetized pounding head on one end that tapers into an axe-like cutting edge on the other end. Along the upper edge of the axe blade is a mysterious-looking node that makes perfect sense once you understand its purpose. On some models, the node fits into a slot, and its position in the slot is adjustable.
Things You Will Need
-
Cut shingles with the hatchet end of a roofing hatchet -- also known as a roofing hammer. Set the shingle you're cutting on the roof deck, then measure the cut line with a tape measure and mark it with chalk. Strike the cut line sharply with the hatchet, then lift the shingle and bend it along the line made by the hatchet to separate it.
-
Place shingles using the shingle gauge, which is the mysterious node on the hatchet blade. Hook the node over the front edge of shingle below the one you're setting; the hammer head should be facing the roof peak. Place the next shingle flush against the head.
-
Pound roofing nails with the hammer head. If the head is magnetized, this is especially easy to do. Set a nail on the head with its point extending out and drive the nail into the roof in two or three strokes, without the need to hold the nail while you're pounding it.
-
Use the hatchet end of the tool to make shingle removal easier. Swinging it under a shingle loosens and breaks the shingle so you can pull it off the roof.
The Drip Cap
- In the world of compressed air-powered nailers and disposable utility knife blades, the need for a specialty roofing hammer with an attached cutter and gauge isn't as pressing as it was, but many roofers still prize their roofing hatchets.
- Place shingles using the shingle gauge, which is the mysterious node on the hatchet blade.
- Place the next shingle flush against the head.
- Set a nail on the head with its point extending out and drive the nail into the roof in two or three strokes, without the need to hold the nail while you're pounding it.