


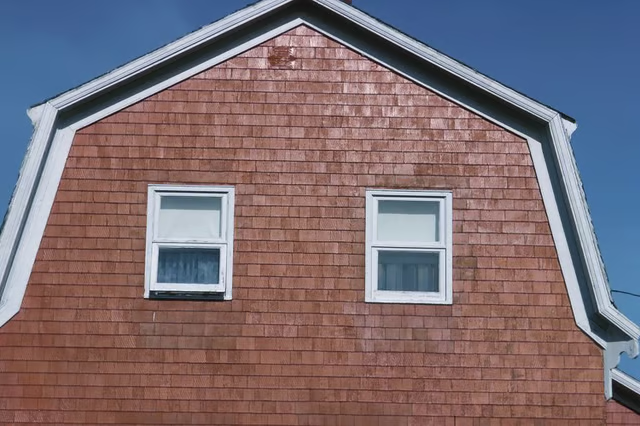
Shingling a gambrel roof is much like shingling a roof with a constant pitch, save at the transition from steep to shallow pitch. Rather than apply flashing at the transition and treating it differently, simply use the flexibility of asphalt shingles to keep the roof sealed and watertight.
-
Shingle the lower pitch as you would with any other roof, offsetting the gaps in tabs with each row and overlapping shingles to cover the nails used to hold the previous row’s shingles to the roof. Work upward from the bottom corner or middle of the roof, applying shingles in staggered rows so that you have a triangular working edge, rather than working straight across an entire row of shingles.
-
Apply shingles normally until you reach the top row on the lower pitch. If the upper tabs on the top row of shingles extend above the edge of the lower pitch when you begin to fit the shingle, you’re there.
-
Place a shingle in position on the upper, working edge of your roofing job, so that it extends past the lower pitch’s edge. Holding the shingle in place with your knees, bend it over the edge of the pitch to sit flat on the upper pitch. Nail it into place.
-
Release the shingle with your knees. The shingle should remain malleable and hold its form where it was bent over the edge, although it isn’t affixed to the lower half of the roof at this point.
-
Straighten the shingle so its lower edge is exposed. Using a brush, apply shingle adhesive to the underside, then bend the shingle back into position so it fits snugly along the bottom pitch. Hold the joint down as long as the adhesive needs to set, as indicated by its instructions.
-
Repeat Steps 3 to 5 for all shingles at the transition.