


Things You Will Need
-
Place two 6-foot ladders at the bottom of the roof, on the incline, pointing up, about 10 feet apart. Don't lean the ladders against the aluminum drip edge, which can bend the aluminum.
-
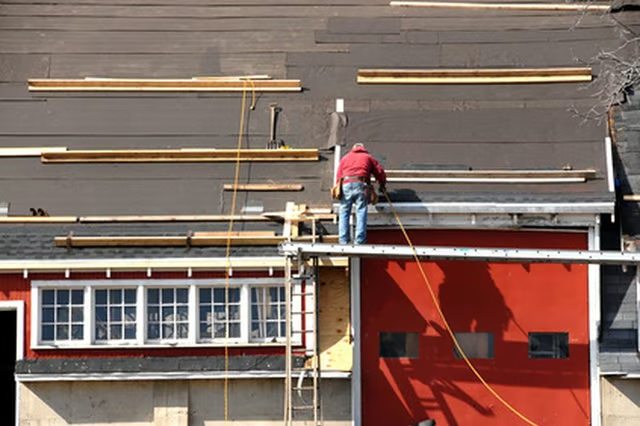
Lay a 12-foot scaffold plank along the bottom of the two ladders, perpendicular to them. Install a row of adjustable roof jacks under the bottom of the scaffold plank and adjust them to fit under the plank and against the roof.
-
Install the starter strip for the shingles. Peel the backing off the strip and place it along the lowest edge at the bottom of the roof. It's not easy to apply what is actually a 20-foot sticker, so ask an assistant to hold the other end and pull it taut so you can line it up evenly. Install at least four nails with a pneumatic nail gun into the starter strip.
-
Install the first row of shingles by pressing them along the sticky strip running across the starter strip you installed in Step 3. Apply a 1/4-inch-thick bead of tar under each shingle, then press it into place. Install the nails right below the tar strip.
-
Move to the lower left hand corner of the roof and begin installing shingles, working toward the right. Arrange each shingle so that you don't position the tab notches and the ends directly above the gaps in the shingle below.
-
Work your way up the roof. After you install three or four rows of shingles, lay another 12-foot scaffold about 5 feet above the first, toward the higher end of the ladders. Install a row of roof jacks under this scaffold.
-
Apply a ridgecap when you reach the top of the roof. Beginning on the side of the house that gets the least wind, lay one shingle over the other, working your way down the ridge. Leave a 5-inch exposure on each shingle.