


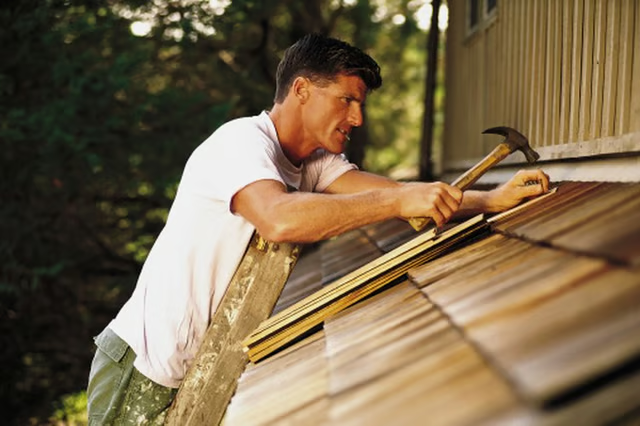
By repairing loose roof shingles, you can save a lot of money on more serious repairs. As long as you can climb a ladder safely and aren’t afraid of heights, you can usually do the repairs yourself.
Things You Will Need
-
Flip up the unattached tab portion of the damaged or loose shingles to expose the nails that attach them to the roof. Slide the notched end of the pry bar under one of the nails to raise the nail a little bit. Position the pry bar firmly under the nail and tap the pry bar with a hammer. The nail should pop right out. Repeat the process on all the nails holding the damaged shingles.
-
Check for damage to the shingles immediately above and immediately below the damaged shingles. As a loosened shingle flaps in the wind, it often damages the shingles around it. Remove them if you see signs of looseness.
-
Examine the exposed area for any roof repairs you need to make. Apply roofing cement with a trowel to any cracks you see in the roofing paper. Wipe off any excess with an old rag.
-
Position a replacement shingle on the roof. Cut it to fit with a utility knife if necessary. Apply some roofing cement to the back side of the shingle. Align it with the rest of the shingles in that course or row. Nail the replacement shingle in place using the existing holes with galvanized 1 3/4-inch roofing nails. Cover each nail head with a dab of roofing cement. Continue replacing the shingles until you complete the job.
The Drip Cap
- Wind storms and other severe weather can damage shingles by either ripping them off the roof or loosening them.
- As long as you can climb a ladder safely and aren’t afraid of heights, you can usually do the repairs yourself.
- Slide the notched end of the pry bar under one of the nails to raise the nail a little bit.
- Apply some roofing cement to the back side of the shingle.
- Cover each nail head with a dab of roofing cement.