


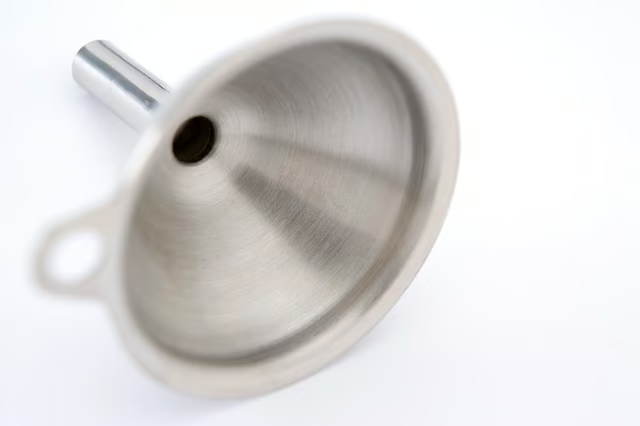
The finished funnel can easily be wiped clean after use; unlike plastic, there’s very little restriction on the kinds of liquid that can be poured through it.
Things You Will Need
Making the Cone
-
Mark an 8-inch circle on a piece of sheet metal. Cut around the circle with tin snips and smooth the cut edges with sandpaper to remove all the burrs and sharp points. In the center of the circle measure a 2-inch circle and cut this out with the tin snips, once more smoothing the edge. Draw a straight line from the outer edge of the circle to the inner edge and cut along it.
-
Overlap the edge of the metal to form a cone. The tapered end of the cone should have an opening approximately 1 inch in diameter. Sand the pieces of metal where they overlap then wipe clean with a cloth – this will help the weld bond.
-
Return the metal to the overlapped position and clamp in place. Put on the helmet and gloves and wear long sleeves. Turn on the Mig welder at the minimum power, set the feeder speed to three, and attach the ground clamp to the metal.
-
Weld along all the seams, not just front and back, but also at the top of the bottom on the cone. Leave the metal cone clamped until it’s cooled.
Making the Funnel Neck
-
Draw a wedge shape on the sheet metal, making it 4 inches wide at the top and 2 inches wide at the bottom, and 6 inches in length. Form into an elongated cone so that the opening at the thin end is about ½ inch in diameter. Sand the metal where it overlaps and sand the edges of the metal smooth.
-
Clamp into a cone shape. Fold back the top ½ inch of the cone using pliers; this is where the neck of the funnel will sit in the cone. Sand the underside of the lip. Remove the clamps and slide the neck into the cone of the funnel.
-
Clamp the neck of the funnel and don protective welding gear. Set the welder as before and weld along the outside seam of the neck then where it meets the cone. Weld inside the cone around the overlap you made at the top of the neck. Leave to cool.
The Drip Cap
- A funnel is a very useful household item, and a metal funnel can be used with many different kinds of liquid without worry.
- Draw a wedge shape on the sheet metal, making it 4 inches wide at the top and 2 inches wide at the bottom, and 6 inches in length.
- Remove the clamps and slide the neck into the cone of the funnel.
- Set the welder as before and weld along the outside seam of the neck then where it meets the cone.