


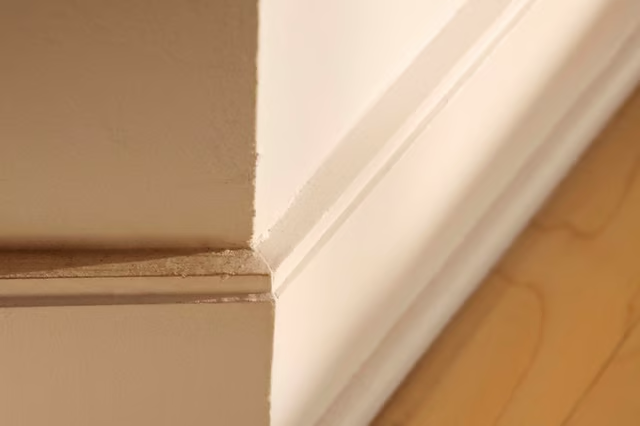
Once the baseboards are tightened, a bit of cosmetic work can help them to look like new again.
Things You Will Need
-
Locate the loose areas of the section of baseboard. Most commonly, the baseboard will be attached securely at some points and loosely at others because the baseboard was not nailed to the studs.
-
Move the stud finder slowly along the wall above the section of loose baseboard until it indicates with light or sound that it has found a stud. Make a faint pencil mark just above the baseboard where each stud is located.
-
Put on your eye protection before proceeding. This will keep popped nails or bits of wood from damaging your eyes.
-
Pound a 2-inch-long 15-gauge nail through the baseboard directly into the stud, about 1 inch down from the top of the baseboard. Pound it in as far as you can without letting the hammer hit the baseboard and damage the wood.
-
Place the small end of the nail set over the head of the nail. Pull and release the spring repeatedly to tap the nail into the wood. Don't stop until the head of the nail is below the surface of the baseboard.
-
Add nails at every stud where the baseboard is loose, using the same method. If the lower part is loose, you can also do this near the bottom of the baseboard, about 1 inch up from the floor.
-
Use a putty knife to spread a small amount of putty in any dents or holes in the wood above the nails. Allow it to dry overnight, then gently sand it smooth with 150- to 180-grit sandpaper. Touch up the area with paint that matches the baseboard to complete the job.
The Drip Cap
- Baseboards not installed properly can come loose over time, often as the house settles.
- Typically, the baseboards do not need to be removed but can be fixed in place.
- Once the baseboards are tightened, a bit of cosmetic work can help them to look like new again.
- Don't stop until the head of the nail is below the surface of the baseboard.
- Use a putty knife to spread a small amount of putty in any dents or holes in the wood above the nails.