


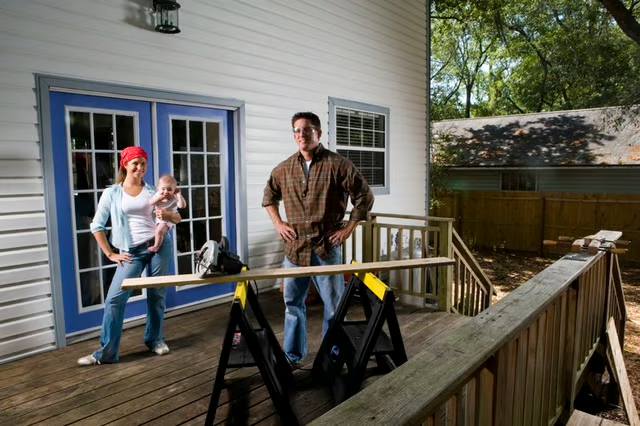
Precast deck blocks take the place of in-ground footings, reducing complexity of construction, time required, and cost. You can build a simple deck in one day using this floating deck system with basic carpentry skills and tools. But before you begin work, check with the local building department to ensure that deck blocks are usable in your area.
Things You Will Need
The Foundation
-
Position four deck blocks, one at each corner of the area you plan to cover with the deck. Use a tape measure to check the spacing to ensure that the front and back sides and left and right sides are equally spaced. Adjust the blocks as needed to make them equal. Also measure from corner to corner diagonally, both ways. These two measurements should be equal. Adjust the corner blocks until they are equally spaced diagonally, so that your corners are square.
-
Cut four pieces of two-by-six lumber long enough to fit the outside edges of your deck for the deck's rim joists. The front and back sides should be equal to each other, the right and left sides should be equal to each other.
-
Set the four rim joists on end to form a square or rectangle, depending on the dimensions of your deck. Set one narrow edge facing up on each board. Use a drill and screw bit with screws, or a hammer and nails to fasten the corners together. Use three fasteners in each corner.
-
Position the frame you just built on the corner blocks so that the boards set into the grooves in the tops of the blocks and the corners of the frame align with the blocks. Use a level to check that the blocks are level with each other by placing the level on top of the wooden frame. Adjust, as needed, by either digging out from under, or adding dirt underneath the blocks, until all four corners are level.
Assembling the Deck Top
-
Measure and cut one piece of two-by-six inch lumber to fit horizontally between the two vertical side pieces of your frame, every 16 inches on center from the front to back of your deck as joists to support the deck planks. Nail, or screw the pieces in place, driving the fasteners from the outside of the rim joists into the ends of the deck joists. Use two 3-inch fasteners in each board.
-
Measure and cut 1 1/4 by 6 inch decking boards to fit parallel to the side rim joists, so that the ends of the decking boards are flush with the outside faces of the front and back rim joists. Cut enough decking to cover the entire surface, with ¼ inch space between each piece.
-
Position deck boards, starting even with the outside face of one side rim joist. Drive two screws, or nails, through the decking board, into each deck joist, where they meet. Place your second deck board beside the first. Use a tape measure to space it ¼ inch from the first. Nail it in place as for the first. Continue until deck surface is covered.
The Drip Cap
- A backyard deck is an excellent way to expand outdoor living space, but decks can be complicated, time consuming and pricey.
- Precast deck blocks take the place of in-ground footings, reducing complexity of construction, time required, and cost.
- Use a tape measure to check the spacing to ensure that the front and back sides and left and right sides are equally spaced.
- These two measurements should be equal.
- Set the four rim joists on end to form a square or rectangle, depending on the dimensions of your deck.
- Use three fasteners in each corner.
- Continue until deck surface is covered.