


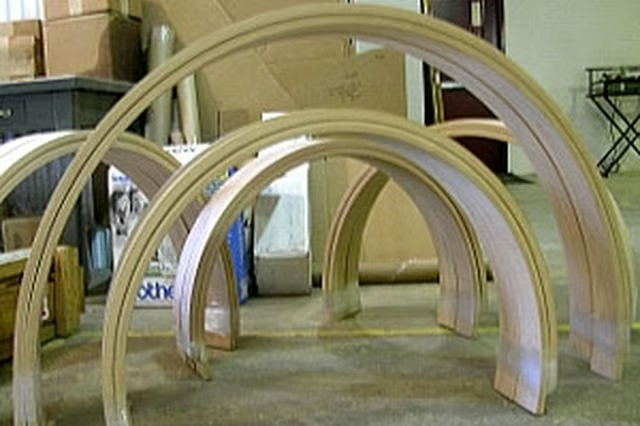
Here, we want to create an arched jamb to fit on an arched opening in a room.
Things You Will Need
-
Measure the width of the arch and record the number. Next, measure the height of the arch from the center point of the opening and record the number.
-
Draw the arch on a table by drawing a horizontal line the width of the arch; be sure to mark the center point. Next, draw the height of the arch on the 1 inch strip of lumber. Drill a hole at one of the marks and secure the other one to the center point marked on the table. This will enable you to draw the arch.
-
Measure and mark a line 7/8 inch on the inside of the arch line drawn on table. This will allow for the “T”s set up and the 1/8 inch Masonite strip.
-
Mark the “T”s 1/8 of an inch from the inside of the vertical form. Secure the “T”s on that mark with two 2 ¼ inch screws.
-
Secure the 1/8 inch Masonite strip to the front of the vertical form of the “T”. Secure this strip with pneumatic stapler. Place a strip of masking tape on the front of the “T” form to cover the vertical and horizontal areas of the “T”.
-
Place a liberal amount of glue to one side of five of the six 1/8 inch strips of lumber. Turn the glued side to the unglued side of the next piece until all six pieces are together.
-
Place the center of the glued material against the 4 inch Masonite and secure it to the “T” form with a screw clamps.
-
Place the remaining screw clamps to the “T” forms until the lumber is secure against all of the “T” forms.
-
After glue has set, usually over night, remove the clamps and the arched trim from the “T” forms.
-
Joint one edge until smooth. Next, carefully rip the width of the piece needed on a table saw.
The Drip Cap
- One of the most beautiful things to see in a home is wooden arches.
- However, with the right tools and tenacity, the beauty of wooden arches can be a part of every home.
- Next, draw the height of the arch on the 1 inch strip of lumber.
- Secure the 1/8 inch Masonite strip to the front of the vertical form of the “T”.
- Secure this strip with pneumatic stapler.
- Turn the glued side to the unglued side of the next piece until all six pieces are together.