
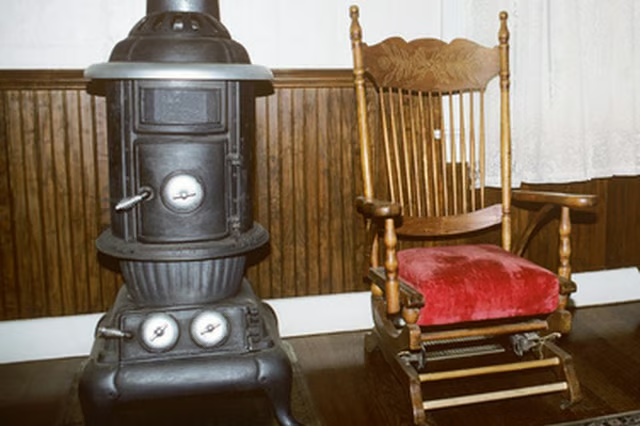
Less heat will radiate from the sides of a smaller heater and it will burn less fuel. Making a small waste-oil heater will require welding and cutting metals, some math and the right tools.
Things You Will Need
-
Cut a small round hole in the top of the water heater tank. Cut a round piece of steel that slightly overlaps the hole. Mount one of the 1/2-inch bulkhead fittings in the center of the steel plate. Weld the plate over the regulator hole, ensuring all gaps are sealed.
-
Weld the legs to the bottom of the water heater tank.
-
Cut an access door in the side of the tank. Cut a piece of the steel plate to fit it with a 1-inch overlap on all sides. Unless the plate is fairly thin (in which case you may be able to bend it to the profile of the tank), you will have to fit risers around the sides of the hole to allow the flat door to seal. Bolt or weld on the hinges, and seal the door opening with fire rope. Cut the access door large enough to allow the round piece of plate steel to fit through it.
-
Cut a hole in the top rear of the burner for the vent. Weld in a short (about 4-inch) piece of pipe for the vent.
-
Make a damper and air inlet for the burner. You can cut a hole and weld in another pipe and put an adjustable cover on it, or make a sliding port at the bottom of the door with the leftover plate steel.
-
Drill three 1/2-inch holes near the outside of the thick piece of plate steel, spaced equally around the edges. Using these holes as a pattern, drill three corresponding holes in the bottom of the water heater tank. Fasten the bolts facing upward into the tank and fasten them in place inside the tank using the 1/2-inch nuts and crush washers. Run the three other nuts about 1/2-inch down the threads of the bolts and place the round piece of plate steel over the bolts (it will end up suspended about 5 1/2-inches above the bottom of the tank.
-
Attach a piece of the vent to the vent pipe with a pipe clamp (you can change the direction of the vent with a fitting if you need to -- the vent does not need to be straight at this point). Attach the 1/2-inch tubing to the bulkhead fitting in the top of the tank and wrap it around the vent five or six times. This will warm the oil before it hits the fire.
-
Attach the other bulkhead fitting to the bottom of the plastic bucket. Locate the heater where you want it and vent it to the outdoors. Position the bucket higher than the heater and attach the adjustable valve in the 1/2-inch line just outside the bucket. Attach the 1/2-inch line to the bucket. Fill the bucket with oil and you are ready to heat.
The Drip Cap
- A large waste-oil heater will heat a large shop or home.
- By using a smaller burner, fuel supply and metal tank, you can modify a waste-oil heater to use in a smaller space.
- Weld the plate over the regulator hole, ensuring all gaps are sealed.
- Cut an access door in the side of the tank.
- Attach a piece of the vent to the vent pipe with a pipe clamp (you can change the direction of the vent with a fitting if you need to -- the vent does not need to be straight at this point).
- Locate the heater where you want it and vent it to the outdoors.
- Position the bucket higher than the heater and attach the adjustable valve in the 1/2-inch line just outside the bucket.