


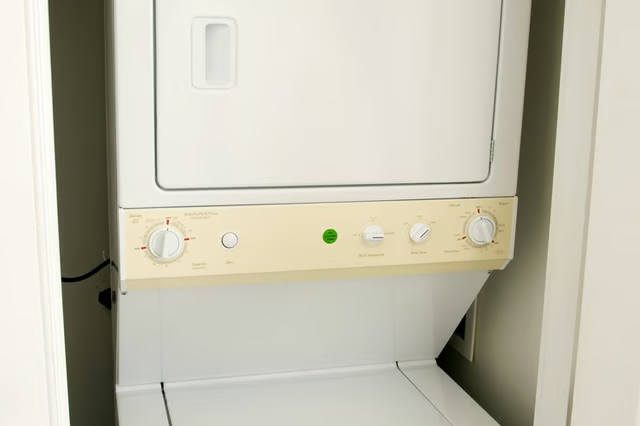
Replacing the drum belt on the dryer takes about two hours but requires no special tools. Performing the repair yourself will save on high labor rates and having to take your clothes to the laundromat in the meantime.
Things You Will Need
-
Pull your GE Spacemaker away from the wall far enough so that you can get behind it to work easily. Turn off the water supply valves and disconnect the hoses from the machine with a pair of pliers. Clean up any water spillage from the hoses with rags.
-
Unplug the GE Spacemaker's power cord from the electrical outlet. Remove the retaining screws from the back of the dryer unit with a Phillips head screwdriver. Set the back panel aside and out of the way. Remove the belt from the dryer drum by pushing the idler arm to the side and removing it from the motor pulley by hand if the belt is not broken.
-
Pull the belt off of the dryer drum and install the new one, ribbed side down. Grasp the belt at the bottom of the drum and form a loop. Pull the loop through the idler arm and connect the other end to the motor pulley. Replace the back on the dryer and install the retaining screws with the screwdriver.
-
Connect the water supply hoses to the machine with the pliers. Plug the electrical cord for the unit into the electrical outlet. Push your GE Spacemaker washer and dryer into place against the wall. Turn the dryer on and run it empty for a few minutes to test the new belt installation.
The Drip Cap
- Your GE Spacemaker washer and dryer has the same parts as a non-stacking unit.
- Replacing the drum belt on the dryer takes about two hours but requires no special tools.
- Remove the retaining screws from the back of the dryer unit with a Phillips head screwdriver.
- Push your GE Spacemaker washer and dryer into place against the wall.
Check out this related video from Homesteady on Youtube.