


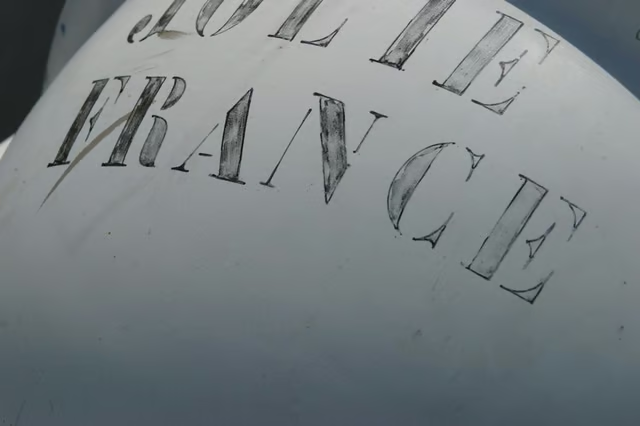
A few basic painting supplies and techniques help to properly apply stencil patterns onto challenging curved surfaces.
Flexible Stencils
Flexible stencil material is key to stenciling curved surfaces. Thin plastics and cardboards are great materials to buy or cut from, avoiding paper materials that may absorb paint or heavier materials that don’t bend well. These materials are thick enough to keep shape when rolled with paint, but lightweight enough to provide a form fitting hug on concave or convex problem areas.
Taping the Stencils
Materials should also be lightweight enough to be held up by painter's tape. Taping the stencil to the curved surface will free your hands for better dexterity over the paint roller and ensure the stencil stays in place, limiting any drooping or slanting of the stencil across the work space. Taping the stencil give a tight seal against the surface being painted.
Roller Brushes
Roller brushes are useful for curved stenciling -- they allow the painter to quickly work over any curved problem areas. Roller brushes distribute paint evenly across the entirety of the stencil, and come in a variety of sizes ranging from a few inches to a foot or more. The all-over covering style of roller brushes also helps to keep the stencil in place -- brushes push against stencil edges, sometimes loosening tape holds.
Harsh Curves
When thinking of a curved surface, mostly smooth, rounded curved come to mind. However, many home walls and other crafting projects, feature harsher curves, either that bend inward, or have 90-degree angles. Applying pressure is key to these types of surfaces. Pressure at the most curved areas of the stencil pattern will help to ensure the pattern doesn't get distorted in problem areas.
The Drip Cap
- Stenciling is a technique for transferring cut patterns onto a variety of surfaces and craft projects.
- Taping the stencil to the curved surface will free your hands for better dexterity over the paint roller and ensure the stencil stays in place, limiting any drooping or slanting of the stencil across the work space.
- The all-over covering style of roller brushes also helps to keep the stencil in place -- brushes push against stencil edges, sometimes loosening tape holds.
- When thinking of a curved surface, mostly smooth, rounded curved come to mind.