


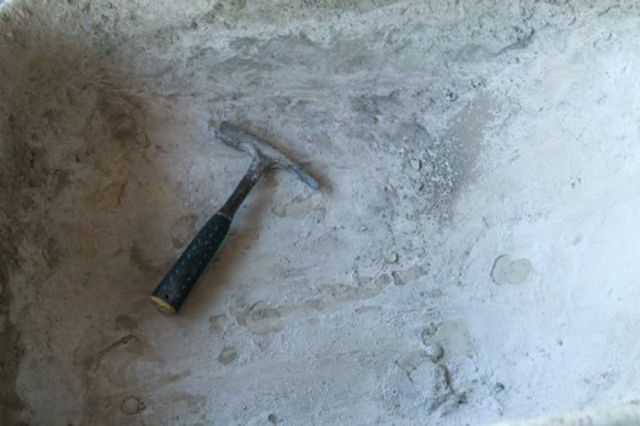
The average homeowner can resurface a foundation wall. If you do not take the time to repair the wall, the peeling will progress and the wall will continue to deteriorate until it becomes dangerous.
Things You Will Need
-
Pressure wash the foundation wall with a pressure washer set at 3500PSI. This will remove dirt and debris from the foundation wall. It also hydrates the wall to prevent it from sucking the moisture out of the resurfacing material.
-
Mix one part concrete resurfacer compound with seven parts water into a mixing container and mix it into paste with your drill and paddle mixer.
-
Fill in any large holes or imperfections with the compound and then level the compound flat with the surface of the foundation wall with the trowel. Allow 24 hours drying time before moving on.
-
Wet the wall with hose water or with a bucket and a sponge. Again, this hydrates the wall and prevents it from drying the resurfacer too quickly.
-
Mix a second batch of resurfacer compound and mix it up in your bucket. Since you are adding the compound to a wall, mix the resurfacer to a paste similar to the way you mixed the resurfacer to patch the concrete wall.
-
Apply a coat of resurfacer over the entire wall with the trowel. Apply a “skin coat.” A skin coat is a thin layer approximately 1/8-inch thick. Use the trowl to eliminate sharp creases and edges as you apply the resurfacer to the wall. Allow 48 hours drying time.
The Drip Cap
- A peeling concrete foundation or concrete form means the outer edge of the concrete has rotted and started to break away.
- Allow 24 hours drying time before moving on.
- Again, this hydrates the wall and prevents it from drying the resurfacer too quickly.
- Use the trowl to eliminate sharp creases and edges as you apply the resurfacer to the wall.