
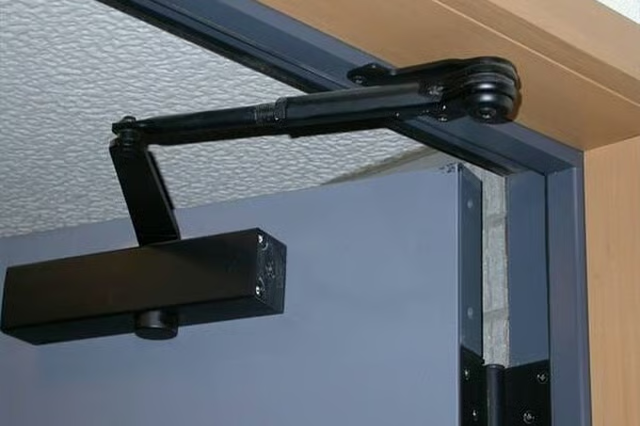


Although it is fairly easy to install a Global door closer using the product templates, there are a few important factors to consider first, including the location of the closer and the type of mounting desired.
-
Consider the side of the door for the closer. In general, closers are installed on the least visible side of a door. This means that if there's a corridor side and a room side, the closer would be installed inside the room, so it can be seen only from that one area. In the home, you can install it on whichever side you prefer.
-
Determine whether you will be using a regular arm or parallel arm installation. If you are installing the closer on the pull side of the door (the side you'd stand on to pull the door open), you will be performing a regular arm installation, which is by far the most common. If you are installing on the push side of the door, you'll be using a parallel arm installation. Global door closers come equipped with an attachment device, called a shoe, that allows for either type of mounting.
-
Peel and stick the template provided with the closer onto your door and frame. Make sure to use the correct template based on parallel or regular arm installation.
-
Use an Allen wrench to adjust the spring power on the closer body, depending on the width of the door. There is a chart provided with each Global door closer that tells you what the power should be, depending on the door width.
-
Attach the closer body to the door in the location shown on the template. Use the screws provided with the closer for best results. Install the screws at the spots indicated on the template.
-
Screw the closer arm to the top of the body using the fasteners included in the package.
-
Attach the arm to the door. If you are using a regular arm mount, you will attach the arm directly to the frame at the location shown on the template. If you are using a parallel arm mount, you will attach the arm to the mounting shoe included in the kit, then attach the entire shoe to the frame, according to the template.
-
Open and close the door. Adjust the latch speed and main speed valves using the Allen wrench until the door is able to close completely in about 5 seconds. These valves are located on the top body of your closer.
-
Place the cover over the closer body and fasten it using the screws provided.