


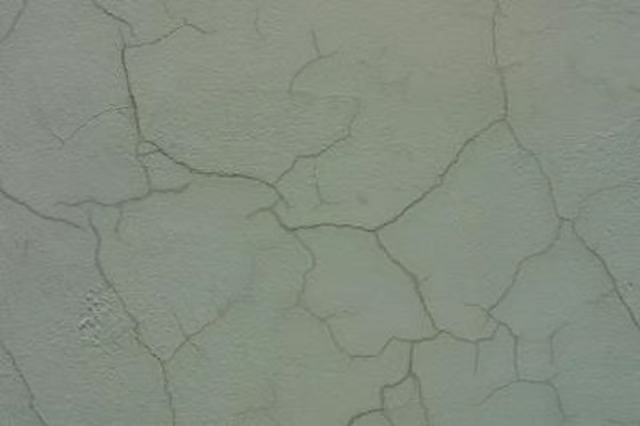
When concrete walls or floors are poured, the water that is used to mix sand and cement evaporates, curing the mixture into a monolithic slab. This process involves a small amount of shrinkage, which can lead to the formation of hairline cracks. Once these concrete surfaces are painted, any cracks that exist will stand out even more. To prevent the cracks from growing and letting moisture in, as well as to keep the surface better-looking, fill the cracks and be done with the problem in no time.
Step 1
Vacuum the length of the crack you want to fill. Dust and dirt will find their way into the crack and will prevent a good bond with the epoxy. Make sure there isn't any water or moisture in the crack; if there is, dry it with a hair dryer and let it sit for 30 minutes to see if the water returns.
Step 2
Apply the concrete epoxy or polyurethane. Select a high-viscosity two-part concrete epoxy from your local hardware store. High-viscosity epoxy will be thinner (like water) than other types and will fill the whole crack. Use any included fine-tipped nozzles to ensure you reach deep into the crack with the epoxy. Allow 12 to 24 hours for the epoxy to set.
Step 3
Sand the surface of the epoxy-filled crack. Wrap some medium grit (120-220) sandpaper around a wooden block and sand in a circular motion along the crack until the surface of the concrete is smooth to the touch. Vacuum away any dust that was created during sanding.
Step 4
Repaint the concrete using the same paint as was used before. Use a roller to make the job faster and to avoid any brush strokes. You may need to paint a larger area to disguise the repair if the other sections of the surface have faded or if the paint is slightly different in color.
Things You Will Need
Check out this related video from Homesteady on Youtube.