


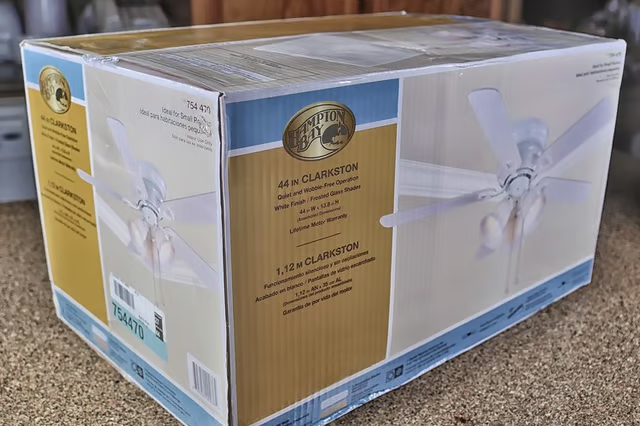
Hampton Bay ceiling fans can be a great asset in your home. They circulate air around a room, enabling you to reduce the cost of heating and cooling your home while making it more comfortable. It can, therefore, be a nuisance when they stop working. If the problem is the fan switch, it can be fixed without too much trouble.
Things You Will Need
-
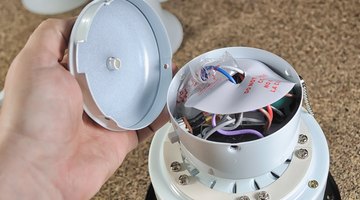
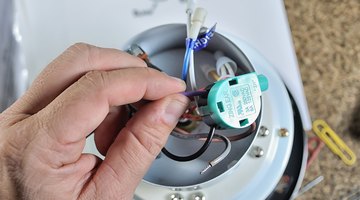
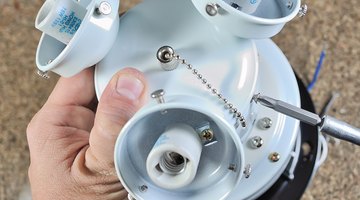
Open the fan’s switch housing by removing the screws, which you’ll find either on the bottom cap or the side. Remove the pull chain by unscrewing the decorative nut underneath the switch housing.
-
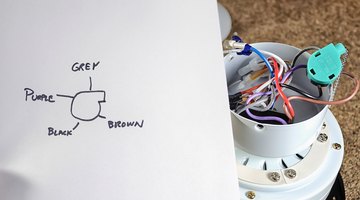
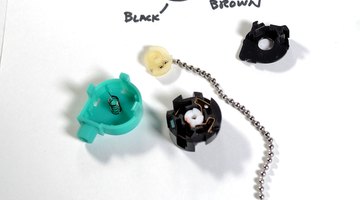
Write down where each wire attaches to the pull chain.
-
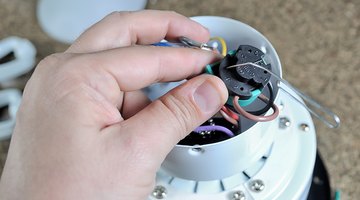
Remove the wires from the pull chain after you’ve marked them. Most fan switch wires are inserted directly into the chain, so you can and should remove them without cutting them; just pry them out with a small flat head screwdriver inserted into the slot next to the wire. If they’re attached using wire nuts, remove the nuts.
-
Determine the correct replacement pull chain. The best way to do this is to contact Home Depot or Hampton Bay, who can probably send you the right switch or at least give you a part number you can use to select a suitable generic brand at your local hardware store. If one of them can’t help you, you need to consider two things in determining the correct switch: how many speeds the fan has and how many wires are used to connect the pull chain. Some possible configurations are listed in the “Tips” section below.
-
Reconnect the new pull chain wires the same way the old pull chain connected, consulting the notes you took when removing the old chain. If there were no wire nuts, you may need to solder the connection to make sure it stays.
-
Remount the fan switch housing by replacing the screws.
The Drip Cap
- Hampton Bay ceiling fans can be a great asset in your home.
- Open the fan’s switch housing by removing the screws, which you’ll find either on the bottom cap or the side.
- Write down where each wire attaches to the pull chain.
- Some possible configurations are listed in the “Tips” section below.