


Step 1
Place the power miter saw on the worktable and slide the saw toward the edge of the worktable.
Step 2
Attach the carbide blade to the power miter box per the saw's operating instructions.
Step 3
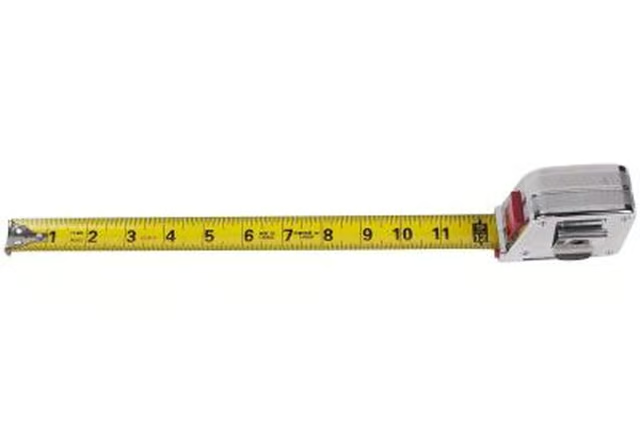
Set the aluminum frame on the worktable, pull the tape measure along the aluminum frame and mark the cut location with the permanent marker.
Step 4
Slide the aluminum frame into the power miter saw.
Step 5
Pull the handle of the power saw toward the surface of the worktable and align the cut mark with the carbide blade of the power miter saw. Make sure that you do not turn on the saw while you are aligning the mark with the carbide blade, as the aluminum frame could kick toward you and cause you severe injury.
Step 6
Put on your safety glasses and face shield.
Step 7
Hold the aluminum frame in place with one hand and pull the trigger of the power miter saw.
Step 8
Slowly pull the handle of the saw toward the aluminum frame.
Step 9
Continue pulling slowly on the handle of the saw until you cut through the aluminum frame.
Step 10
Remove the cut aluminum frame from the power miter saw and slide the fine-toothed rectangle file around the cut end of the aluminum frame to remove any sharp burs left by the cutting process.