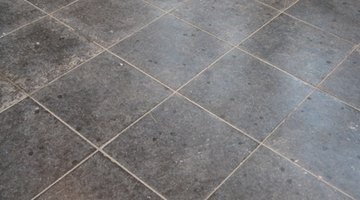
How to Lay Hardboard for Tile
Hardboard is used to create a flat, level surface over existing subfloors. These boards are made from pressed wood pulp materials better known as particle board. They have a smooth surface for laying down against existing subfloors and a rough side that thinset and rout can easily adhere to when tiling. These boards are available from most home-improvement stores or lumber yards for a reasonable cost. Their density is ideal for tile work because of the strength they add to the base of the new floor.

-
Pull any nails or staples left from older hardwood floor or carpet with pliers to remove any old flooring from the surface. Sweep away any debris or dirt to get the floor as clean as possible.
-
Measure length and width walls of the room and multiply them together to determine the square footage of the room. Once you know the total square footage, round up to the amount needed to get enough full, 1/2-inch hardboard.
-
Coat the rough side of each panel with 2 cups of clean water using a paintbrush. Allow the boards to dry for 24 hours in the room they will be installed. The water will cause them to expand slightly, and they will be conditioned to the room when they dry. This way, the boards will be resistant to swelling from accidental water spills that may occur later.
-
Lay the boards out over the subfloor with the rough-side up, and test fit them together. Place the boards at the furthest point from the door first and work toward the exit. Make sure the boards fit tightly together and have clean, straight edges. Use a jigsaw to cut around floor corners or floor obstructions like plumbing fixtures.
-
Place 2-inch framing nails 1 inch from the edge of the board to connect the hardboard to the existing subfloor. Place nails in each corner at the center of each edge, and then centered between those two. Use a nail set to push the top of the nail just below the surface of the board. Don't create a hole, but force it below the surface enough so that you don't feel the nail when gliding your hand across the board.
-
Walk the floor to check for stability and to make sure there are no sections that squeak or rise up under pressure. Verify that the board is firmly secured, and that there are no significant gaps in the joints.
References
- "Ultimate Guide to Ceramic & Stone Tile: Select, Install, Maintain"; Editors of Creative Homeowner; 2006
- "Tiling: Step-by-Step"; Better Homes & Gardens; 2004
Tips
- When you pull up the old flooring, treat any mold or mildew on the floor and allow it to dry completely before laying the hardboard.
- Measure and mark boards carefully before cutting around corners or other obstructions to reduce the risk of waste boards.
Warnings
- Use appropriate caution with the jigsaw and wear eye protection.
- Be sure to allow the boards to acclimatize properly and absorb the brushed-on water or the boards may pucker up later if they become wet.
Photo Credits
- Tiled floor image by Simon Amberly from Fotolia.com
More Articles


