

-
Measure the hole in the wall. Cut two pieces of 2-by-4 lumber the same as the inside height, or vertical measurement, of the hole in the wall. Cut two to the width of the hole minus 3 inches. Use a circular saw to make the cuts.
-
Position the vertical 2 by 4s along the sides of the hole, ½ inch back from the face of the drywall. Use a tape measure to check the depth at top and bottom. Screw them in place with at least two 3-inch drywall screws each, using a cordless drill. The screws will go through the 2 by 4 into the frame of the opening behind.
-
Position the two remaining 2-by-4 pieces horizontally between the verticals at the top and bottom of the hole. Screw them in place as you did for the vertical pieces. If the hole is more than 24 inches across, cut one more piece of 2 by 4 to fit vertically between the top and bottom 2 by 4s. Center this piece vertically in the opening and drive screws through each end on an angle into the top and bottom 2 by 4s.
-
Cut a piece of ½ inch drywall to fit the opening of the hole, snugly. Use a utility knife and a framing square to make the cut to ensure straight edges. Place the drywall patch into the hole against the face of the 2 by 4s.
-
Drive 1 ¼ inch drywall screws through the drywall into the 2 by 4s around the edges of the hole. Position one screw every 6 to 8 inches. Drive screws into the center 2 by 4 you installed if your hole is wider than 24 inches.
-
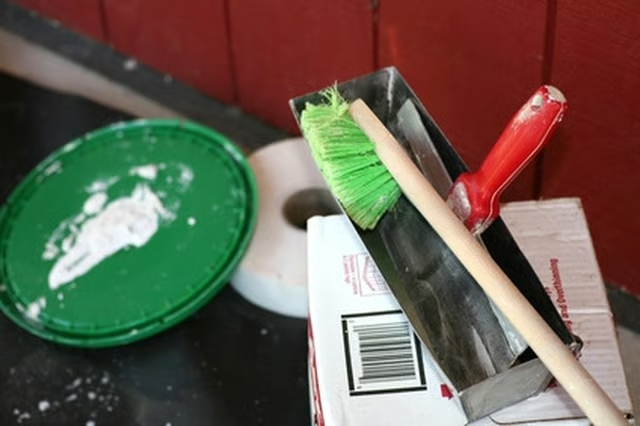
Apply drywall mud to the seam around the patch to fill it. Use a wide drywall knife and level the mud with the face of the wall. Cut pieces of fiberglass drywall tape to fit all four edges of the hole. Smooth them into the mud, making sure the entire bottom of the tape is wet with drywall mud. Apply a coat of mud over the top of the tape, dragging the knife over the tape to smooth it, pressing firmly.
-
Smooth the top coat of mud with a 10-inch, or wider, drywall knife. Allow this coat to dry thoroughly. Sand the top coat of the mud smooth using a sanding sponge with a fine grit. Apply a second top coat to fill any minor inconsistencies in the seam and then smooth with the wide blade knife, tapering it off at the edges to blend into the wall. Allow this coat to dry and sand again.
-
Roll on a coat of paint that matches the surrounding wall. For the best blend, paint the entire wall with a fresh coat of the same color so that the new paint does not stand out. Allow the paint to dry thoroughly before hanging pictures or touching the wall.
Articles
View All Hover to load posts
Articles
View All Hover to load posts
Articles
View All Hover to load posts
Articles
View All Hover to load posts
Articles
View All Hover to load posts
Articles
View All Hover to load posts
Articles
View All Hover to load posts
Articles
View All Hover to load posts
Articles
View All Hover to load posts
