


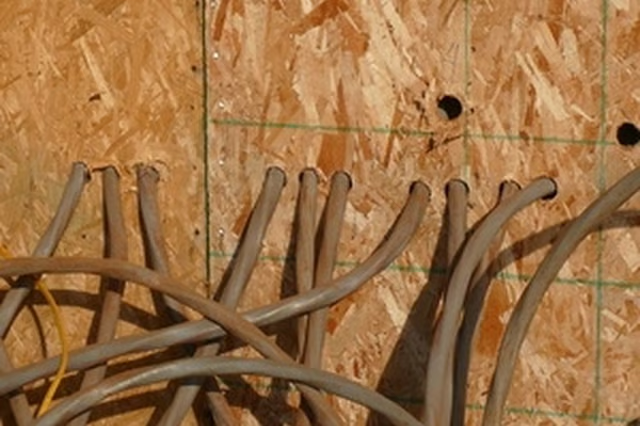
Extending From Receptacles
-
Turn the power off at the circuit breaker to the Romex circuit you will be extending and test it to be sure it is off with the no-contact voltage tester. Bring the probe close to the Romex cable already in the receptacle box and if the light stays off, the circuit is off.
-
Strip 8 inches of sheathing from the end of the cable with the sheathing strippers, remove the paper wrappings and insert the cable into the plastic wiring box. Staple the new Romex cable to the stud within 8 inches of where it enters the box.
-
Strip 3/4 inches of insulation from each of the two insulated wires. Bend the stripped portion of the wires 180 degrees with the long nose pliers. Do the same to the bare ground wire.
-
Loosen the green ground terminal with a screwdriver. Place the ground wire on the terminal screw so the bend wraps around the screw clockwise. Tighten the screw firmly.
-
Loosen the two empty side terminal screws and place the white wire around the silver terminal screw with the turn going clockwise around the screw. Put the black wire on the brass terminal screw the same way and tighten both screws. After you replace the receptacle and cover plate, the new Romex circuit is ready to be connected at the other end, extending the circuit.
Splicing Romex
-
Find a junction box with the Romex cable circuit you wish extend inside. Turn off power to circuit you are working on at the circuit breaker and test it to be sure it is off with the no-contact voltage tester by bringing the probe close to the Romex cable you will be splicing to.
-
Remove the wire nuts on the black, white and bare wires. Strip 8 inches of sheathing from the Romex cable and insert the cable into the box. Strip 1 inch of insulation from ends of the new wires.
-
Twist the new bare ground wire around the existing bare ground wire connection with the lineman's pliers and replace the wire nut on the connection, twisting it on until the wire nut is on tight. Hand tighten the nut --- do not use pliers.
-
Twist the white wire end around the existing white wire connection with the lineman's pliers. Replace the wire nut and be certain no bare copper shows after the wire nut is in place.
-
Twist the black wire end around the existing black wire connection with the lineman's pliers. Replace the wire nut and be certain no bare copper shows after the wire nut is in place. After you replace the junction box cover plate, the new Romex circuit is ready to be connected at the other end, extending the circuit.