

-
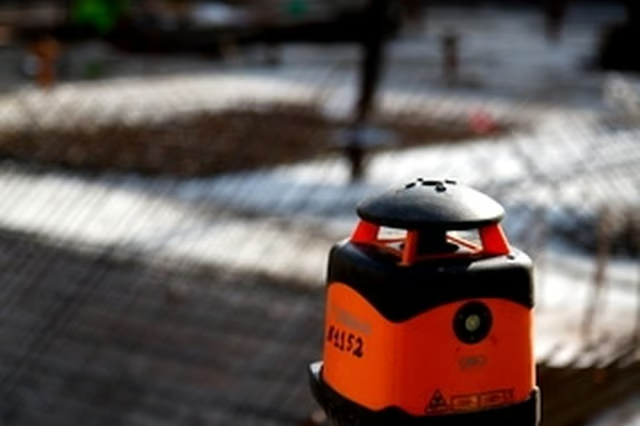
Set up your level in a large room 25 to 50 feet from a wall, depending on the model. For models with X and Y coordinates on the top, aim the X coordinate at the wall and turn on the laser. Level the laser if necessary; some models are self-leveling. Mark on the wall where the beam strikes. (For models without X and Y coordinates, draw a vertical line on the wall and mark the point at which the beam crosses the line.)
-
Rotate the level 180 degrees and mark the point where the beam strikes the wall. If the two marks are separated by no more than the tolerance specified for your model (this varies from about 1/10 inch to 1/16 inch) the level is within specifications for this axis. Next, rotate the level 90 degrees so the Y axis points at the wall, make another mark, rotate 180 degrees and mark once again. Check the vertical distance between these to marks to determine if they are within specifications. If either axis is out of its specified limits, proceed to the next step for recalibration.
-
Recalibrate the levels that use manual adjustments by turning off the unit and removing the adjustment screw cover (this may be a rubber cap or a metal screw cap, depending on model) and turn the adjusting screw with a flat-bladed screwdriver. If the first mark was higher than the second, turn the screw counterclockwise; if it was lower, turn it clockwise. Adjust each axis as necessary to bring the level to within specified tolerance.
-
Recalibrate the levels that use electronic calibration, such as the model 40-6580, by placing the level into self-calibration mode. Do this by powering off the unit and turning the X axis toward the wall. Press the "Power" and "Manual" buttons simultaneously. Release the "Power" button while continuing to hold the "Manual" button for 10 seconds. When the "Manual" button is then released, the unit will enter self-calibration mode. Slide down the cover of the remote control to reveal the calibration area. Press the "X/Y" button to select X axis calibration. Move to the wall and press the "Up/Down" arrow button to move the beam to a point exactly halfway between the two marks made during the calibration test of the X axis. Press the "Enter" button to complete the X axis calibration. Turn off the unit, turn it so the Y axis is pointing to the wall, then repeat the calibration steps for the Y axis.
Articles
View All Hover to load posts
Articles
View All Hover to load posts
Articles
View All Hover to load posts
Articles
View All Hover to load posts
Articles
View All Hover to load posts
Articles
View All Hover to load posts
Articles
View All Hover to load posts
Articles
View All Hover to load posts
Articles
View All Hover to load posts
