

-
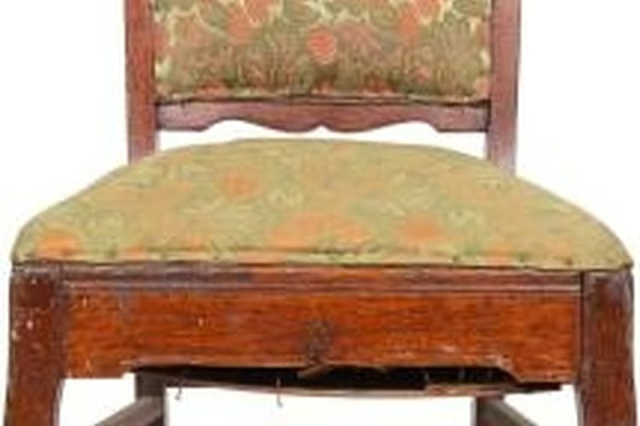
Remove the old cover using a small pry bar, flat screwdriver and pliers. Pull off the double welting or trim and set it aside. Pry up or pull out the upholstery tacks or staples along the wood edge. Remove the fabric once the tacks are removed.
-
Center the new fabric over the cushion material. If the cushion material has holes or an uneven surface, tack quilt batting over the material to make the surface as smooth as possible. Pull on the top layer of the batting to tear it close to the nail head to hide the head.
-
Trim the batting along the edge of the wood using a sharp utility knife. Center the upholstery fabric on the chair seat. Tack or staple the front center 1/4 inch from the wood edge. Tack with a hammer and tack. Pull the fabric toward the back to stretch it taut. Tack or staple the back center 1/4 inch from the wood edge.
-
Tack or staple the center of each side the same way. Add tacks or staples away from the center in the same pattern: Top, bottom, side, side. Trim the fabric, turn it under and fit it as close to the wood as possible.
-
Cut the fabric carefully along the wood edge and away from the tacks. Make double welting or use commercial trim to cover the tack heads. Double welting is made of the same fabric as the chair seat. Welting is a cord wrapped in fabric.
-
Place a square of the fabric on the cutting mat. Cut a strip of fabric on the 45 degree bias. Each strip should be 1 1/2 inches plus the diameter of two cords.
-
Join strips together by placing one strip vertically face side up and the second horizontal and face down. Sew a diagonal seam from the top left to the bottom right where the two strips overlap. Trim the seam to 1/4 inch and iron it flat. Join as many strips as you need to go around the perimeter of the chair.
-
Fold the strip wrong sides together along its length and insert two cords into the fold. Sew in between the cords. Bring the raw fabric end over the double cords and sew between the cords a second time. Trim the excess fabric close to the seam.
-
Hot glue the double welting over the exposed staples or tacks. Hide the end as much as possible.
Articles
View All Hover to load posts
Articles
View All Hover to load posts
Articles
View All Hover to load posts
Articles
View All Hover to load posts
Articles
View All Hover to load posts
Articles
View All Hover to load posts
Articles
View All Hover to load posts
Articles
View All Hover to load posts
Articles
View All Hover to load posts
