
Light Stains to Make Pine Look Like Maple

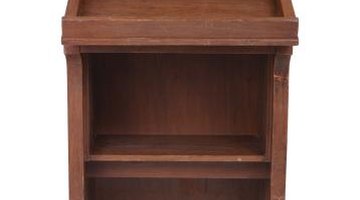
Using real maple wood can be cost prohibitive when building furniture or other wood items. Therefore, many woodworkers opt to build with pine and use special finish techniques to give this low-cost material a treatment that looks like maple. Although it’s time consuming, using light coats of different one-step stains can produce an acceptable alternative when using pine in place of maple.
Seal with One-Step Light Gold Stain

Since pine is a more porous wood, it’s important to begin with a sealing technique to prep the wood and give it a texture more like maple. The fastest way to do this is to quickly rub in a light coat of one-step light golden-color stain with a soft, clean cloth. One-step stain has both color and sheen in the product and it will create a soft undertone that helps create depth when combined with other stains. However, one-step stains are very tacky. Therefore it is important to work quickly and allow the stain to dry overnight before applying the next coat.
Use a Light Red One-Step Stain
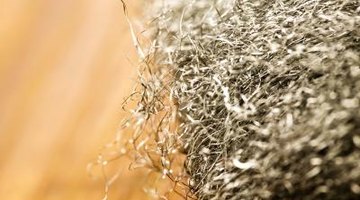
Use very fine steel wool to prep the wood for the next coat. Remove enough of the previous stain to allow the next stain to penetrate partially through to the wood, but do not remove all of the light gold stain. Rub in a layer of light red one-step stain on top of the light gold. This gives the second color of red undertones needed for depth in your piece. Let the stain dry overnight.
Mottle with Dark Brown One-Step Stain

Maple and other hardwoods have a more blotchy appearance than the grain of pine. To create this effect, use the very fine steel wool again to prep for the next stain. However, this time pick random places on the wood to remove more of the bottom coat. This will create an uneven surface to accept the next layer of dark brown one-step stain and create a more mottled effect when rubbing in this layer. Let it dry overnight.
Finish with One-Step Light Gold Stain

With the tricolor base stains in place to create depth and color variation, very lightly prep the surface with very fine steel wool to accept the finish coats of the one-step light gold stain used to begin the project. For this coat, do not rub the stain in with a cloth. This layer should be applied with thin strokes using a high-quality brush specifically designed for use with polyurethane products. Follow the manufacturer’s instructions, apply the one-step stain in one direction only and do not overwork the finish layers. Let it dry overnight between light coats if additional sheen is desired.
References
Resources
Writer Bio
Terry Mulligan has been writing since 2007. As an accomplished artist, decorator and business professional, she enjoys covering art, decor, business management, real estate, education, computers/software/ERP, animal rescue, cooking and self-improvement. Mulligan holds an M.B.A. from the University of Phoenix.
Photo Credits
- PhotoObjects.net/PhotoObjects.net/Getty Images
- Jupiterimages/Photos.com/Getty Images
- Jupiterimages/liquidlibrary/Getty Images
- Stockbyte/Stockbyte/Getty Images
- Jupiterimages/Photos.com/Getty Images
More Articles