


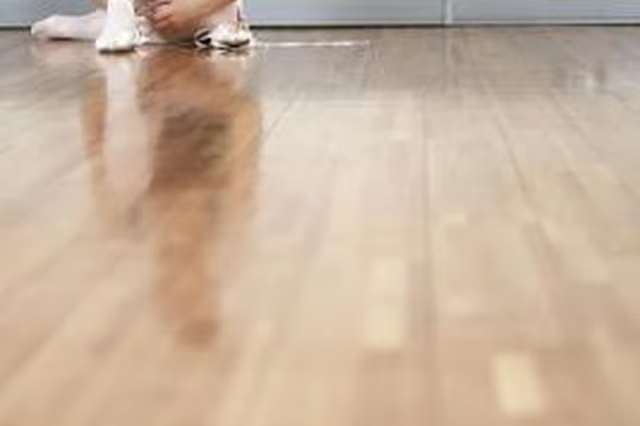
Floor Finish
Wooden floors can be finished with as few as two coats of finish or many more. Oil-based varnishes and polyurethanes go on thickly and require fewer coats. Water-based poly is very thin, so many more coatings are required for a durable finish. Once cured, each layer except the last is sanded to ensure a smooth finish in the end.
Bubbles
Your floor sealer, whether varnish or another product, has to be gently and thoroughly stirred before application. Shaking a can of varnish or stirring it too vigorously introduces air into the liquid that will turn into a bubbled finish on your floor. Another cause of bubbles is using a foam brush or roller that creates bubbles as it is used to apply the finish. Many bubbles pop and smooth out before they dry, while many others remain behind to create a flawed surface.
Preventing Bubbles
Work from a separate bucket or pan so you don't contaminate the product container with debris and bubbles as you work. If you find that a foam brush or roller leaves bubbles, switch to a large, natural-bristle brush. If you need to remove excess varnish from the brush before using it on the floor, wipe the excess into yet another container. The excess varnish often has tiny bubbles that will contaminate your work bucket and end up on the floor. Sanding between coats removes dust and small bubbles before the next coat is applied.
Remedy
Remove bubbles by lightly sanding the floor with 220-grit sandpaper as you did between coats of varnish. Pay special attention to badly bubbled areas. You don't need to remove the finish entirely, but you do need to knock off the tops of the bubbles so they are flat enough to take a smooth coat of varnish. Apply a top coat of varnish using the prevention techniques described. The new bubble-free coat should be enough to disguise all evidence of old bubbles. If not, lightly sand the area and apply another coat.