
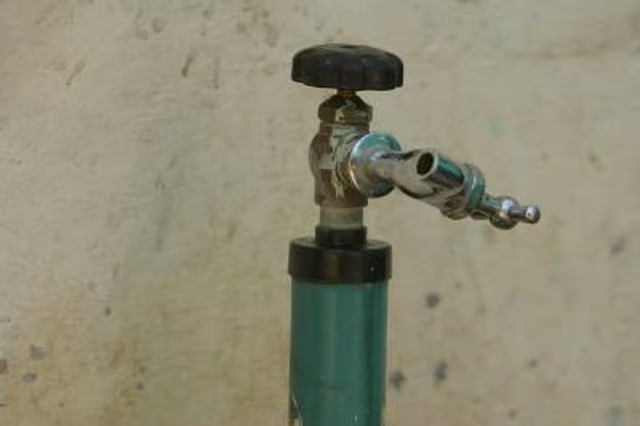
A dripping frost free or freeze proof yard hydrant is more than an unsightly water waster. It has the potential to be a major problem because a dripping frost free hydrant is no longer frost free. A drip results when a pressure valve seat has been compromised and water is leaking past it. The above ground portion becomes filled with water and when winter comes it can freeze or even burst in cold weather. The problem must be adjusted or repaired to correct this situation.
Things You Will Need
-
Adjust the hydrant seals. Worn linkages can cause a leak by not properly forcing the rubber shut off assembly into the valve seat. If the handle is nearly all the way down before you feel resistance caused by the plunger hitting the valve seat this may be the problem. Simply adjusting the mechanism at the top of the valve stem to extend it slightly might solve the problem. Make the adjustments in small increments to avoid damaging the valve assembly.
-
Repair the hydrant. Often the cause of a leaking hydrant is worn or damaged gaskets or seals in the valve assembly. These components can often be replaced without digging up the valve assembly.
-
Find a supplier for your brand of hydrant. Most hardware stores will have supplies as will well drillers in your area. Unless you can leave the hydrant dissembled for several days you will want to get replacement parts before starting work.
-
Unscrew the head assembly from the riser pipe. This might be difficult since it has likely been outside for many years and may be rusted tight. Liberal use of penetrating oil, hammer tapping, and long handles on the pipe wrenches can all help.
-
Pull up the connector rod. The seals and valve mechanism should come with it.
-
Inspect and replace those components that seem worn or deteriorated.
-
Reinsert the valve assembly and thread the head assembly onto the riser pipe. Be sure to use pipe dope on the threads and seals to aid in sealing.
-
Adjust the plunger seating pressure as noted above.
The Drip Cap
- A dripping frost free or freeze proof yard hydrant is more than an unsightly water waster.
- Make the adjustments in small increments to avoid damaging the valve assembly.
- Unless you can leave the hydrant dissembled for several days you will want to get replacement parts before starting work.
- Unscrew the head assembly from the riser pipe.
- Pull up the connector rod.