
Things You Will Need
-
Limit the work. Don't undertake an entire great room in a single session.
-
Move the furniture away from the wall you've chosen. Put away miscellaneous items, so you don't have to step over them. Ignore the dusty floor beneath furniture.
-
Arrange your materials conveniently, perhaps by tucking the spare rag in your waistband, setting up the stepladder and placing the cleaner on a sheet of newspaper (to protect the surface you set it on).
-
Wear gloves, if you don't want your hands to smell of the product you use. On the other hand, it doubles the benefit and deep-softens to work bare-handed.
-
Start in a corner at the top of a wall so that any drips run down the wall. Spray cleaner directly onto the paneling or pour a little on the first rag and wipe at ceiling level.
-
Work from top to bottom in a comfortably confined area, perhaps 2 feet wide. Rub longer in areas of concentrated grime, such as where fingerprints have accumulated.
-
Move onward and clean swatches from ceiling to floor until you reach the end of the wall.
-
When one wall is finished, lightly wipe excess cleaning product with second rag (the one in your waistband).
The Drip Cap
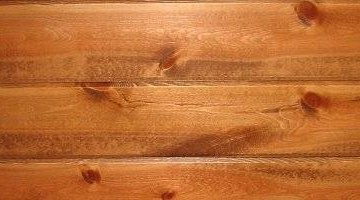
- A room paneled in knotty pine looks cozy and comfortable, but not if you can hardly bear to touch the grimy walls.
- Elbow grease and a little time will restore sheen and cleanliness to a knotty pine wall or room.
- Put away miscellaneous items, so you don't have to step over them.
- Ignore the dusty floor beneath furniture.