
How to Use Joint Compound to Texture Walls

Joint compound is a versatile substance that is easy to work with. It dries within about an hour and it is water-based, which means that you can thin it for different applications. You can apply it to a wall to create a variety of textures; you paint the wall when you are finished.
There are many styles of texture you can add to your wall, but the method of applying the joint compound is similar for most of them.
Things You Will Need
- Primer
- Paint rollers
- Paintbrush
- Joint compound
- 5-gallon bucket
- Wood paint stick
- 4-inch wide paintbrush
- Roller with thick nap
-
Prime the wall that you want to texture to create a surface that keeps stains from bleeding through and that holds the texture in place evenly. You can use oil-based or latex primer. Let the primer dry according to the manufacturer's directions.
-
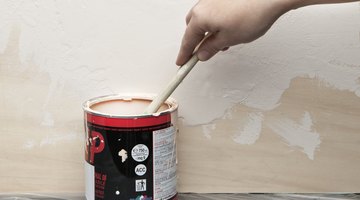
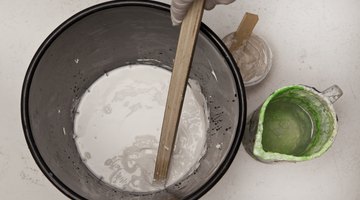
Place a gallon of joint compound into a 5-gallon bucket, and add just enough water to make it more like a thick paint or pancake batter. Add 8 ounces of water to start with, and stir thoroughly with a wooden paint stick until the mixture is smooth. Add more water a few ounces at a time until you have reached the proper thickness.
-
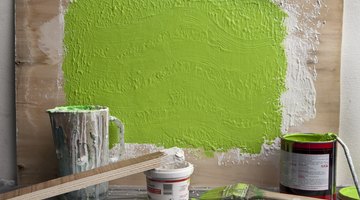
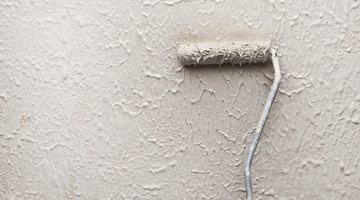
Dip a 4-inch-wide paintbrush into the joint compound, and paint the wall with a heavy coat but without getting any runs. You also can use a paint roller with a thick nap; just make sure you apply enough to get a good texture.
-
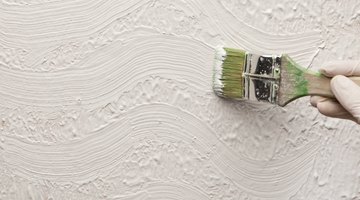
Drag the paintbrush across the surface to create swirls or whatever design you like. Make the layer about 1/16 of an inch to keep it from cracking when it dries.
-
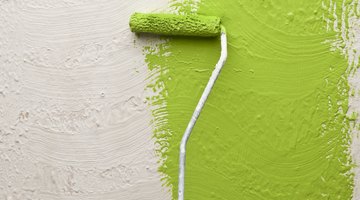
Let the joint compound dry for 24 hours. Paint with the color you like, using a thick-napped roller to get into the texture of the wall, drying between coats according to the manufacturer’s directions.
The Drip Cap
- Joint compound is a versatile substance that is easy to work with.
- You can apply it to a wall to create a variety of textures; you paint the wall when you are finished.
- Let the primer dry according to the manufacturer's directions.
- Add 8 ounces of water to start with, and stir thoroughly with a wooden paint stick until the mixture is smooth.
References
Writer Bio
Maryland resident Heide Braley is a professional writer who contributes to a variety of websites. She has focused more than 10 years of research on botanical and garden articles and was awarded a membership to the Society of Professional Journalists. Braley has studied at Pennsylvania State University and Villanova University.
Photo Credits
- Anna Susanne Eriksson/Demand Media
- Anna Susanne Eriksson/Demand Media
- Anna Susanne Eriksson/Demand Media
- Anna Susanne Eriksson/Demand Media
- Anna Susanne Eriksson/Demand Media
- Anna Susanne Eriksson/Demand Media
- Anna Susanne Eriksson/Demand Media
More Articles