


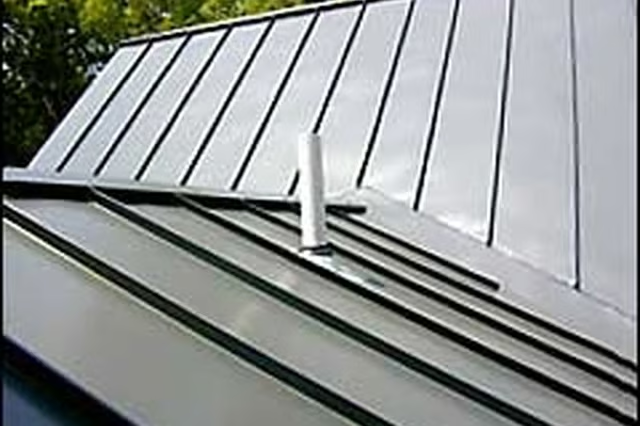
Properly installed, a metal roof is virtually maintenance free, fire resistant, and often able to last for the life of the structure upon which it rests. Metal roofing panels are now available in a wide range of colors and styles. Installation of a standing seam metal roof involves joining vertical interlocking panels from the top of the roof (ridge) to the roof’s eave (edge). The area where each panel joins the next is raised above the roof’s flat surface. This allows water to safely run off without leaking into and between the panels.For the DIY-er, standing seam shingles can be custom ordered and will arrive prepackaged with complete instructions. Metal panels can be secured with hidden fasteners that are hidden by the next connecting panel, or (less expensive) by using exposed fasteners that are driven through each metal panel into the roof.
Things You Will Need
-
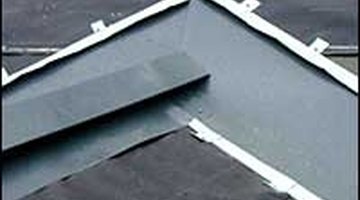
Apply roofing paper over the roof sheathing, then over each roof “valley” (the valley is where 2 roof sections meet at an angle). Place the preformed ridge cap over the roof’s peak and secure as the manufacturer directs. Every subsequent vertical panel will be attached to this ridge.
-
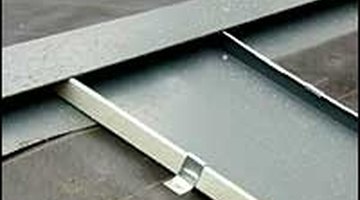
Lay each panel lengthwise from ridge to eave and tuck neatly into the ridge vent. Use clips or fasteners to attach the panels to the underlying sheathing. Each panel will cover the clips of the panel beneath it.
-
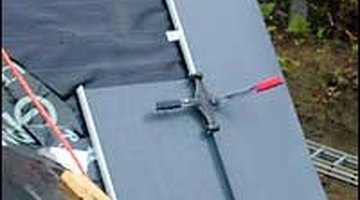
Using your crimping tool, crimp together the raised edges of the panel ends together. This creates the raised seam appearance and provides a watertight seal to your finished roof.
-
Paint your finished raised seam metal roof!
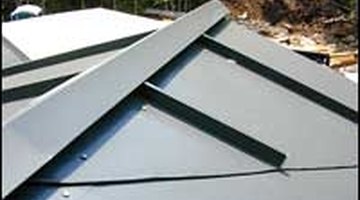
The Drip Cap
- Standing seam metal roofing was once used solely for industrial use in the extreme climates of New England and the Deep South.
- Metal panels can be secured with hidden fasteners that are hidden by the next connecting panel, or (less expensive) by using exposed fasteners that are driven through each metal panel into the roof.
- Apply roofing paper over the roof sheathing, then over each roof “valley” (the valley is where 2 roof sections meet at an angle).
- Paint your finished raised seam metal roof!